Ethereum
 Hyperliquid
 Solana
 Arbitrum
 BNB Smart Chain
 Base
Base Polygon
 TRON
TRON Sui
Sui MegaETH


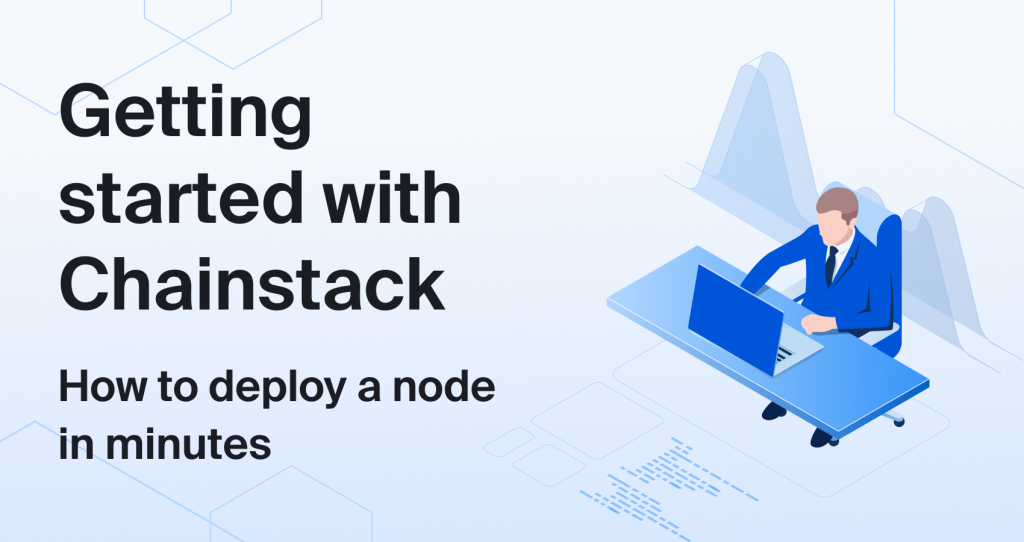
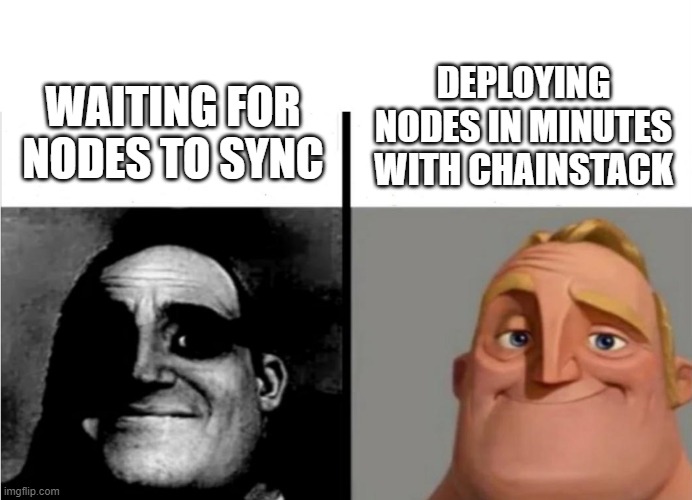
How to deploy a blockchain node in minutes – Get started with Chainstack
Despite all the ups and downs that are a given in the space, Web3 is here to stay. And not only has it become a permanent fixture in the minds of developers and users alike, but it is also well on its way to disrupting the entire internet as we know it. This makes it a perfect time for you to join in the fun with fellow BUIDLers.
Fortunately for everyone involved, Web3 is far from being in that raw form that it once was. Quite the contrary—it is more accessible than it ever was, creating a ton of exciting opportunities for you to leverage. So, what’s stopping people?
In reality, one of the toughest barriers to entry for plenty—infrastructure, still remains. And considering just how difficult it is to run and manage your own nodes, that comes as no surprise. The good news about this, however, is that things are changing and for the better, as we are about to see. But first—let’s take a closer look at just what makes running a node such a hassle.
Why is running a node difficult?
Much like running your very own server, running a node does come with a lot of responsibility. One of the first major differences between the two, however, can be found in just how long it can take to get a node up and running.
While deploying is a relatively straightforward process, node synchronization can take days, or even weeks, depending on the writing speed of your hard drive and other technical factors involved in the process. This is an absolute nightmare and a total buzzkill for any eager developer that wants to get started.

But even if you have the patience of a Buddhist monk and don’t mind that much of a wait, there is more trouble for you in store. Having a healthy node requires you to perform regular updates, which can even ask you to rebuild everything from scratch, every once in a while. Talk about pain.
The same applies to the plethora of reasons behind your node(s) falling behind and desynchronizing. And should you allow such issues to plague your setup, get ready for an overwhelming wave of downtime and interruptions to the user experience, due to the dread of unsynchronized nodes.
Scaling node operations makes it worse
These issues are further exacerbated, once you start scaling up your project and have to do the same with infrastructure as well. Running a single node for your educational project is fine in comparison, but things really get complicated, once you have to maintain the health of multiple nodes and perform more complex interactions.
That is especially true, when running nodes on-premises, as you effectively place the overwhelming burden of administering everything successfully on your shoulders. This means more waiting, more painstaking debugging, and basically very little time for you to focus on what truly creates value—developing your Web3 application.
Knowing this, it’s time to draw the bottom line and evaluate the pitfalls you will be facing when running your own on-premises node:
- Synchronizing nodes can take an unreasonable amount of time.
- Successfully running a node means more time spent on updates and maintenance.
- A single node timeout can throw a wrench in your entire endeavor.
- Nodes can desynchronize, causing a cascade of issues, even if you don’t make any mistakes.
- Maintaining a stable setup of multiple nodes can be incredibly difficult to do.
- Heavy network traffic can destabilize even the most robust setup.
Introducing Chainstack – the painkiller for all your Web3 woes
While these challenges can easily seem like the end of the world for many new developers, your Web3 experience doesn’t have to be that traumatic. Quite the contrary—as mentioned previously, the space is far from its raw form and there are plenty of useful tools you can use at your disposal to make things much more pleasant.
And that is where Chainstack comes into play. As a developer, who just wants to focus on building a cool DApp, Chainstack can truly be a lifesaver. The platform serves, as a Node-as-a-Service provider, with the primary goal of making your BUIDLer experience as pleasant as possible. It serves as a “control panel for blockchains” that operates across a multitude of cloud service providers and supports a wide range of some of the most significant protocols to date.
Having a trustworthy infrastructure provider like Chainstack allows you to focus on building freely, taking the entire burden of running your own node setup. This means you can ship to market faster than ever, run and administrate decentralized networks without the DevOps pain that comes with it, whether you are barely making your first steps as a developer, or are part of a powerful enterprise.
Why Chainstack?
Multi-chain: 14+ blockchain networks
Ethereum, Binance Smart Chain, Avalanche, Polygon, Fantom, Solana, Harmony, StarkNet, Tezos, Bitcoin, Quorum, MultiChain.
Multi-cloud: 4 clouds with 7 locations around the world
AWS, GCP, Azure, Virtuozzo clouds, located in US East, US West, Singapore, Tokyo, London, Frankfurt, Amsterdam.
Hybrid: Chainstack-hosted, self-hosted, or mix
Freedom of choice for you to run nodes either in Chainstack’s managed clouds, your own managed clouds, or a combination of the two.
Reliable: self-healing infrastructure with >99.9% uptime
3rd-party independent health status checker of the Chainstack’s platform shows more than 99.9% uptime across all services.
Scalable: run any number of nodes and networks, anywhere
- Elastic nodes fit growing businesses starting from a few requests to hundreds of million requests.
- Dedicated nodes fit businesses’ need for unlimited requests.
- Nodes can serve up to 4000 requests per second, from 1 to unlimited nodes.
Affordable: pay only for what you use
- Availability of free of charge plan for developers with up to 3M requests a month.
- Dedicated nodes for an unlimited number of requests for predictable payments.
Instant: Get started in minutes and experiment
A node can be run in less than a minute and start serving your business.
Support: enterprise-class SLAs and premium customer support
Heard enough? Time for you to start leveraging robust enterprise infrastructure for your Web3 project. So, without further ado, let’s walk you through the steps.
Getting Started with Chainstack in 7 easy steps
Deploying a node with Chainstack is incredibly swift and straightforward. The entire process from creating an account, all the way to your first interaction with a node takes no more than the time it takes to brew a fresh cup of coffee. That’s especially heart-warming, considering doing everything on your own can take days, if not even more.
And should you find yourself lost somewhere along the way, you can always make use of Chainstack’s documentation directory to find your way back, or to obtain relevant information for your queries here.
Step 1: One small step for man
The first thing you need to do to get started is to create an account. To do that hop on to https://chainstack.com/ and click the “Start for Free” button in the top right corner. Alternatively, you can visit the account creation page from here directly.
Step 2: Entering your details
To create your account, you will need to provide some basic details first. Nothing too fancy—just an email, a password, and your organization. If you are not part of any organization, you can simply type “Developer,” or “Not Available,” for example. Once you have done that, it is time to pick a plan.
This shouldn’t cause any stress for you, however, if you just want to try things out—just select the free Developer plan and enjoy all essential functionalities you will need, without paying a dime. If you are interested in leveraging more powerful features, you can select the paid plan that suits your use case best. For more information about the plans, please refer to our pricing page here.
Step 3: Verification
Once you are happy with your selection, you will be prompted to complete a quick and simple verification procedure. Just input your name and card details and you are ready to go! If you have picked the free Developer plan, don’t worry about incurring charges during this step—your card details will only be used for verification purposes. But should you have chosen one of the paid plans, however, you will be prompted to complete the subscription payment at the end of this step.

Step 4: Creating your first project
With all those pesky account creation details out of the way, you can now make your first step towards deployment – creating your project. Follow the instructions from the dashboard and click the “Get started” button to create a project. In the following pop-up input some identifying information for your project. This information will only be visible to you, so if you are not a perfectionist, you don’t have to worry too much about it.
Step 5: Joining a network
Now that you’ve created your first project, it is time to join a network. Once again click the Get started button and follow the steps in the wizard to select a network and cloud provider. Note that some of the options are only available under certain plans.
Confirm all the details and once you feel ready click the “Join network” button to begin deployment. Keep in mind that it will take some time to completely deploy your node. Fortunately, you won’t have to wait for too long, as the entire process should take no more than a few minutes of your time.
Step 6: Examining your node
Now that your node has been deployed, click on its name to examine it in further detail. Once in the node details screen, you will see three main sections—Details, where you will find some basic information about your node and its settings; Metrics, where you can evaluate relevant performance statistics and KPIs, once your node is running; and last will be Access and credentials, listing all possible node endpoints and how you can access them.
Step 7: Interacting with your node
With the completion of the previous step, you are ready for the fun stuff—making your first interaction with the node you just deployed. In this tutorial, we selected an Ethereum mainnet node to be deployed, so we will be providing the means to interact with one of the same type. No need for any Web3 libraries at this point, just a basic cURL will suffice for interacting with the RPC endpoint (HTTP).
To do that, hop on to the Command Line Interface (CLI) of your choice, like Terminal, for example, and create a directory at a preferred location. Type the following command to begin installing cURL:
npm install curl Once the installation process is successfully completed, it is time to commit your first interaction. This can be done by inputting the following command:
curl -X POST -H "Content-Type: application/JSON" --data \ '{"jsonrpc":"2.0","method":"eth_blockNumber","params":[],"id":1}' \ https://chainstack-node-endpoint In doing so, you will invoke the eth_blockNumber method that will fetch you the latest block number, hex-encoded, as a return value:
{ "jsonrpc": "2.0", "id": 0, "result": "0xe3acf4"} Congratulations, you have now made your first interaction with a node!
But your journey doesn’t stop there – quite the contrary, it has only just begun and the time to build is now officially upon you!
Continue learning with our knowledge base
And to top it all off, we have a parting gift for you – a collection of tutorials to help you get started, crafted by no other than Chainstack’s very own dedicated knowledge management team. Have a Web3 question that keeps eluding you? Join us on Telegram and Discord to get an answer straight from the experts behind the guides. Here’s what we have arranged for you today:
Web3 guides for newbies

Blockchain node providers: What, how, and why – get acquainted with the infrastructure powering Web3. Introduce yourself to the nodes that help secure the network (or don’t), the typical woes that come in interacting with them, and how node providers can alleviate them:

Metamask under the hood series – discover the inner workings of one of the most commonly used Web3 wallet providers out there. Dig into the details behind Metamask’s functionality and learn more about the cryptography, methods, transaction processing, endpoints, and more factors involved in the process with Davide Zambiasi’s tutorial series:


A developer’s guide to the transactions in mempool series – dive deeper into transaction processing on Metamask. See the reasons behind transaction delays after examining the mempool, fees, and nonce values in closer detail with Sethu Raman:
Advanced blockchain tutorials

Tips to handle RPC request errors – make your first steps in debugging on Web3. Secure the knowledge to resolve common errors occurring during interaction with your nodes. Handle promises, duplicate requests, and retrying with ease, with the help of Antonio Ufano’s practical code examples:


Node performance insider – compare how well your node will fare. Get a better understanding of your node’s performance with a lightweight, hassle-free, plug-and-play-ready EVM analysis tool, developed by Wuzhong Zhu. Explore popular node metrics, like chain ID, network latency, total gas value in the transaction pool, and more:

Blockchain developer walkthroughs
Avalanche subnet series – start your journey into one of today’s leading protocols. Learn the ropes of running your own blockchain network with subnets and understand how to leverage their flexibility in creating the dApp, or chain you always wanted in a seven-part series from Wuzhong Zhu:
How to create an EVM compatible blockchain bridge – escape the siloed digital asset systems. Take your first steps in cross-chain Web3 development by creating your very own means of transferring tokens, and NFTs from one protocol to another with this smart contract tutorial from Antonio Ufano:
Power-boost your project on Chainstack
- Discover how you can save thousands in infra costs every month with our unbeatable pricing on the most complete Web3 development platform.
- Input your workload and see how affordable Chainstack is compared to other RPC providers.
- Connect to Ethereum, Solana, BNB Smart Chain, Polygon, Arbitrum, Base, Hyperliquid, Tempo, MegaETH, Monad, Plasma, Avalanche, Optimism, Scroll, Aptos, Cronos, Gnosis Chain, Kaia, Moonbeam, Celo, Aurora, TON, Ronin, and Bitcoin mainnet or testnets through an interface designed to help you get the job done.
- Fast access to blockchain archive data and gRPC streaming on Solana.
- To learn more about Chainstack, visit our Developer Portal or join our Telegram group.
- Connect your AI agent to Chainstack in seconds using Chainstack MCP — give Claude, Cursor, Codex, Gemini, and Windsurf live access to blockchain data, node management, and docs.
- Are you in need of testnet tokens? Request some from our faucets. Sepolia faucet, Base Sepolia faucet, Solana devnet faucet, Hoodi faucet, BNB faucet, zkSync faucet, Scroll faucet, Hyperliquid faucet, Monad faucet, Amoy faucet, Plasma faucet, TON faucet.
Have you already explored what you can achieve with Chainstack? Get started for free today.