AI-ready infrastructure
 Refer and earn


 Ethereum
 Hyperliquid
 Solana
 Arbitrum
 BNB Smart Chain
 Base
Base Polygon
 TRON
TRON Sui
Sui Robinhood


Avalanche subnet tutorial series: Indexing subnet with The Graph

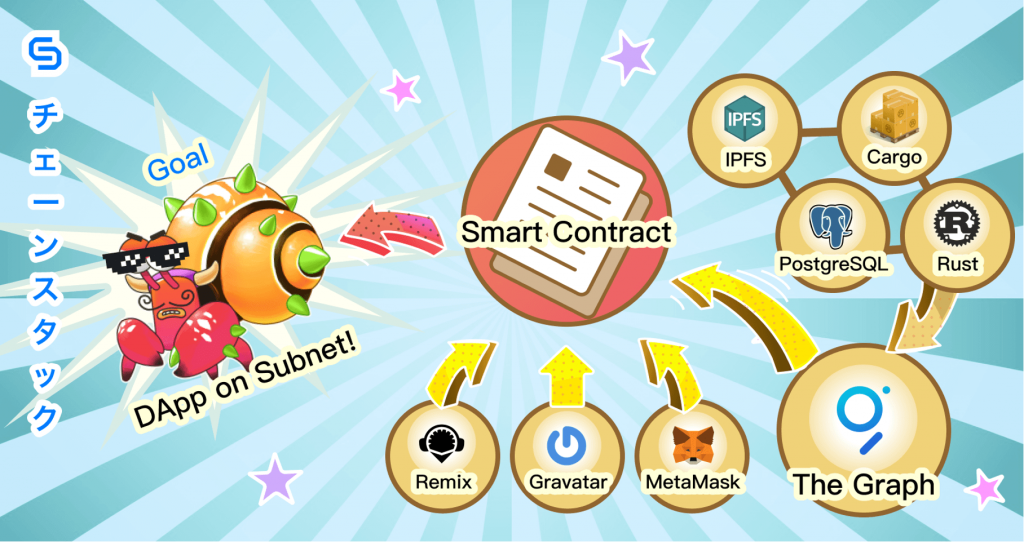
is is the last article of the Avalanche subnet tutorial series. It has been a long way here, hoping you have achieved most of your goals by now.
A quick recap on what has been done: started off by creating a validator node on Fuji testnet; then a subnet was spun off on it; after that, on top of the subnet, a blockchain was established and connected to with MetaMask; finally a smart contract was deployed with Remix.
Make sure the blockchain is properly working by sending a simple request to its RPC endpoint. The URL is most likely in the format of: 127.0.0.1:9650/ext/bc/*fill in your block chain id here/rpc. For example:
curl -X POST --data '{
"jsonrpc": "2.0",
"method": "eth_chainId",
"params": [],
"id": 1
}' -H 'content-type:application/json;' 127.0.0.1:9650/ext/bc/2t27BUokp5Pj8zNQhSNVgqYHChSqrd4k8ewSBrEMXoixxjsXQj/rpc
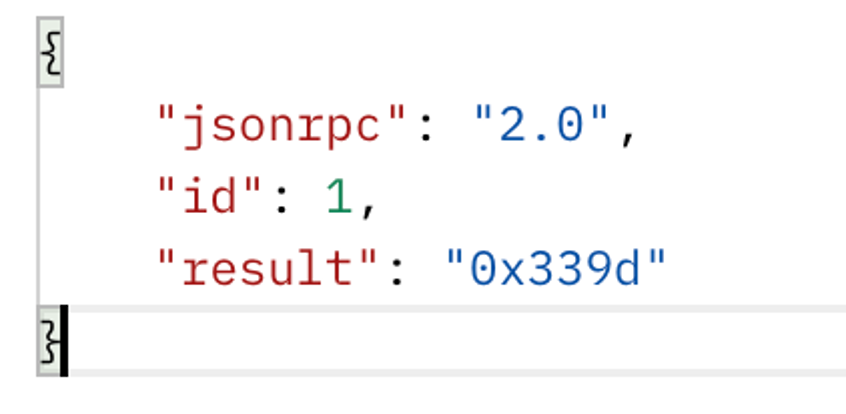
If it returns its chain ID in response, it is working as expected.
Also make sure MetaMask and Remix is linked to the blockchain too. If it doesn’t work, feel free to revisit the previous articles here:
- What is a subnet.
- Running a local Avalanche node on Fuji testnet.
- Creating a subnet, then create a blockchain on it.
- Deploying a smart contract.
- Indexing subnet with The Graph. <– You are here.
This article is about indexing subnet with an extremely useful tool for DApp development—The Graph.
About The Graph
The Graph is an indexing protocol, a platform, and also an open-source tool. It can be confusing for most beginners, so this section is dedicated to explaining what The Graph is. (You can skip this part if you are already familiar with this).
There are 4 main concepts to explain.
- GraphQL and The Graph
- The Graph as a protocol
- Graph node and subgraph
- Hosted service and subgraph studio
About GraphQL and The Graph
GraphQL is a language. It was implemented on multiple platforms with different tools. The Graph is just one of them. The Graph is maintained by The Graph Foundation and GraphQL is maintained by the GraphQL foundation. The relationship between GraphQL and The Graph is just like this:
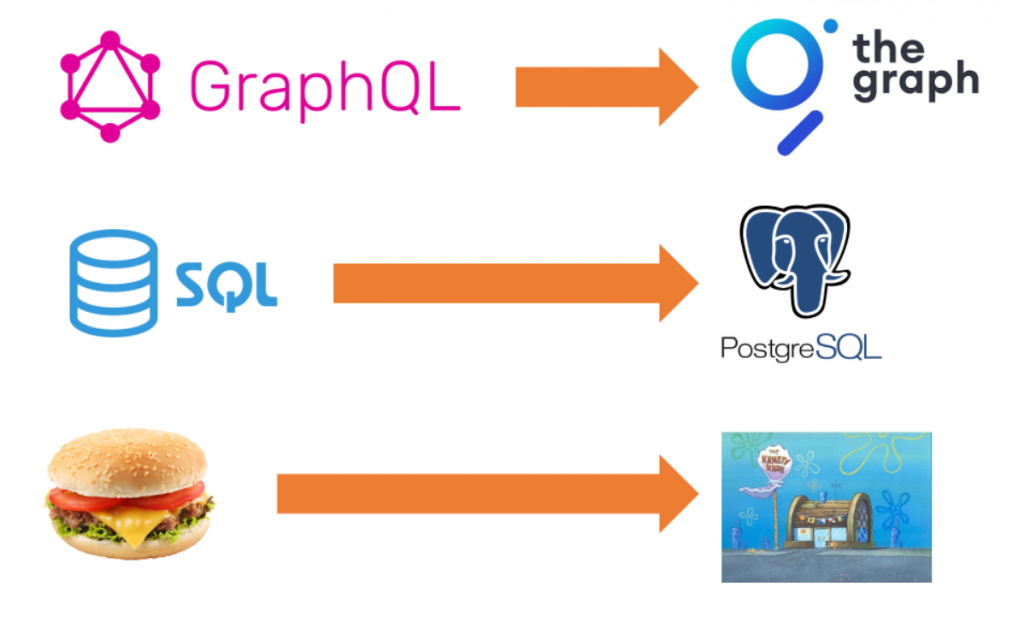
They are mostly unrelated.
The Graph protocol
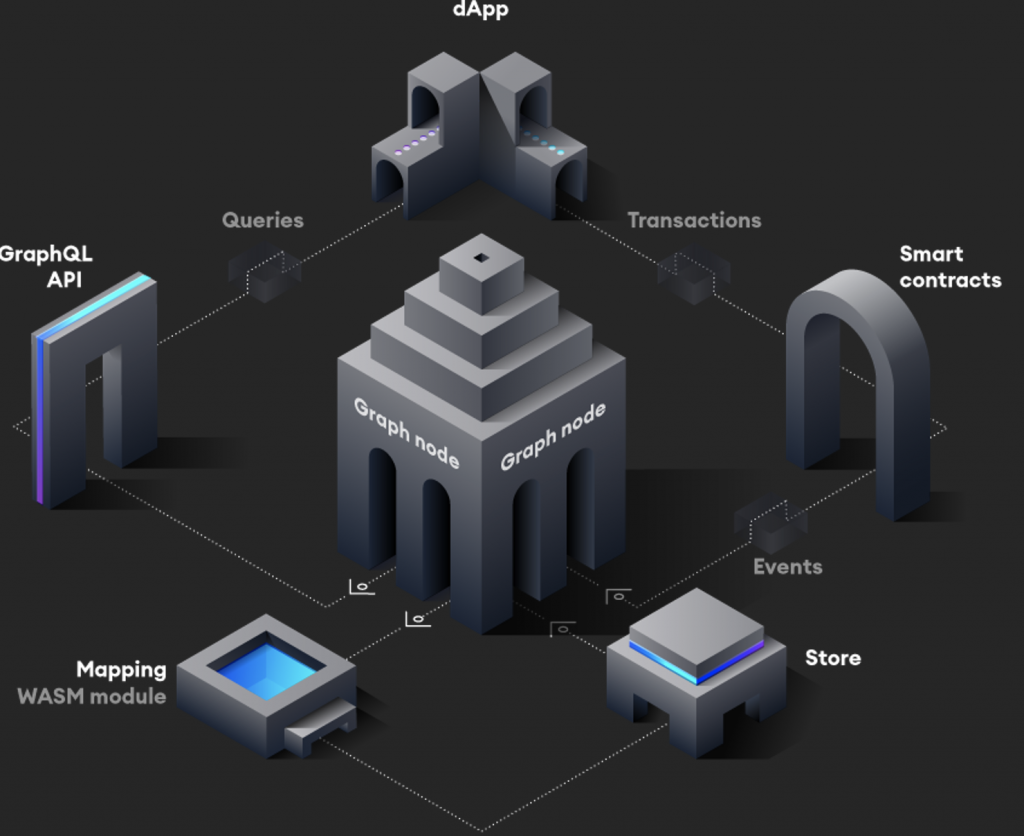
The illustration looks complicated but the protocol itself is not. Basically what The Graph does is listen to blockchain events and record down all transactions of a specific smart contract. The transaction data are indexed and saved, it can be consumed through RPC and WebSocket endpoints using GraphQL.
About The Graph node and subgraph
The center of the protocol is the Graph node. It is an open-source project (GitHub repo) that links the blockchain, the database (PostgreSQL), and the file-hosting system (IPFS) together.
The subgraph contains the metadata for the graph node. It defines how data is mapped, stored, and consumed. The node starts indexing the smart contract only after a subgraph is deployed to The Graph node.
About hosted service and subgraph studio
thegraph.com also provides subgraph hosting services. Users can create their own subgraph using graph cli on local machine and upload it to the graph hosted service.
Subgraph studio is an online IDE for subgraph, however, it currently supports only Ethereum network. The hosted service, on the other side, supports most EVM-compatible chains.
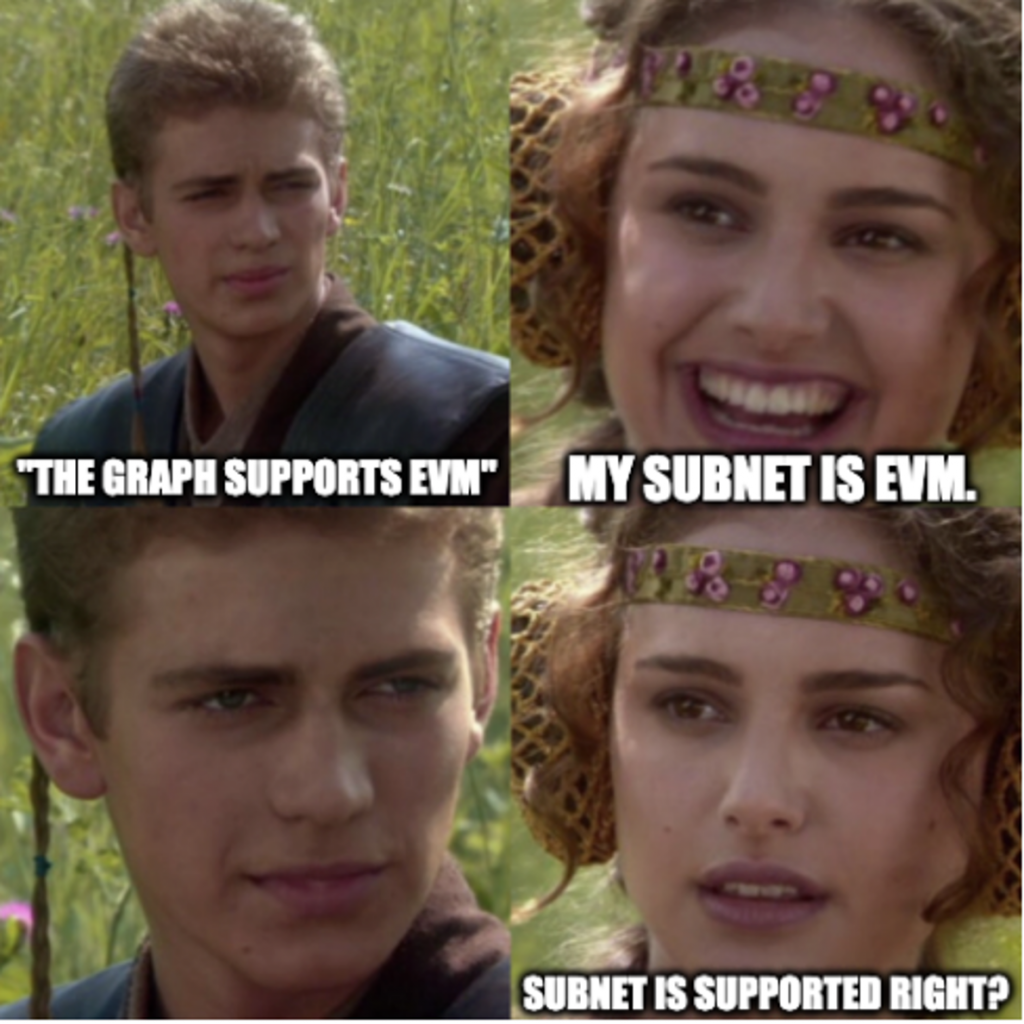
Unfortunately, it is not, at least not for hosted service.
The only way to use The Graph with Subnet, is hosting a local graph node.
Hosting a local graph node
The official GitHub repository for The Graph node is here. Most of the installation steps in this tutorial are the same, so feel free to use that as a reference source too.
To run a local graph node, there are three external systems needed. They are:
- Rust and Cargo, for building and compiling The Graph node. See How to install Rust.
- PostgreSQL, for keeping data. See PostgreSQL Downloads.
- IPFS, for file hosting. See Installing IPFS.
Follow the steps to install the systems, and make sure IPFS and PostgreSQL are properly running.
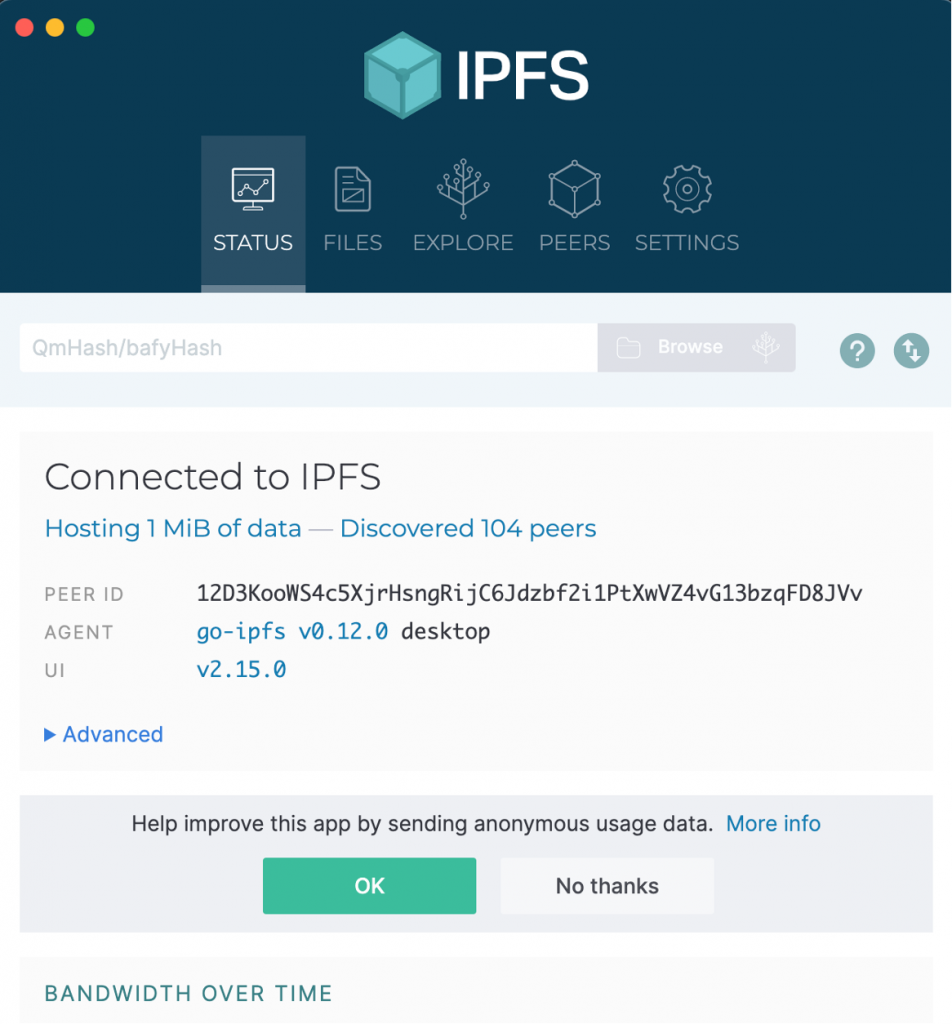
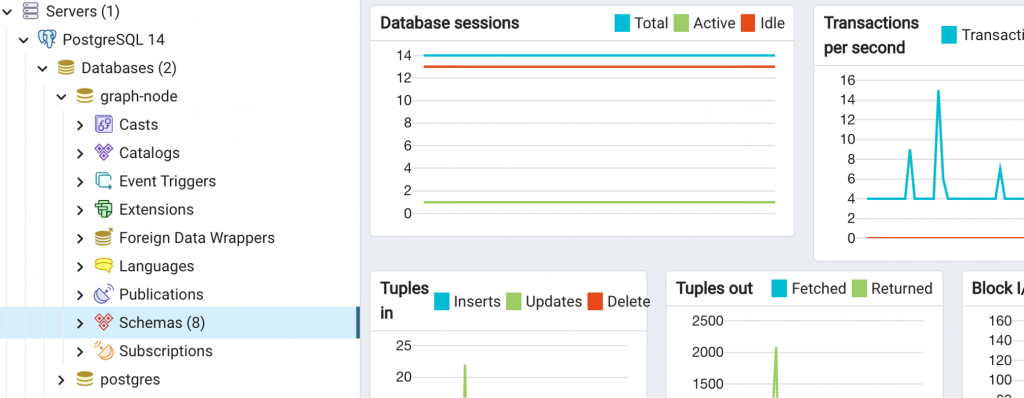
The first three steps is identical to graph-node GitHub repo, they are directly copied from there:
1.Install IPFS and run ipfs init followed by ipfs daemon.
2.Install PostgreSQL and run initdb -D .postgres followed by pg_ctl -D .postgres -l logfile start and createdb graph-node.
3.If using Ubuntu, you may need to install additional packages:
sudo apt-get install -y clang libpq-dev libssl-dev pkg-config
Now navigate to the working directory, run:
git clone https://github.com/graphprotocol/graph-node
cd graph-node
cargo build
* If Rust is installed but the command not found: cargo error shows up, running the following command may solve the issue:
source $HOME/.cargo/env Once all the dependencies are successfully installed, run:
cargo run -p graph-node --release -- \
--postgres-url postgresql://postgres:*fill-in-posgresql-username: :*fill-in-posgresql-password @localhost:5432/graph-node \
--ethereum-rpc fuji:http://127.0.0.1:9650/ext/bc/*fill-in-your-blockchain-id/rpc \
--ipfs 127.0.0.1:5001
The start-up parameters need to be customized. One example is this:
cargo run -p graph-node --release -- \
    --postgres-url postgresql://postgres:password123@localhost:5432/graph-node \
    --ethereum-rpc fuji:http://127.0.0.1:9650/ext/bc/2t27BUokp5Pj8zNQhSNVgqYHChSqrd4k8ewSBrEMXoixxjsXQj/rpc \
--ipfs 127.0.0.1:5001
If everything goes ok, this shows up:
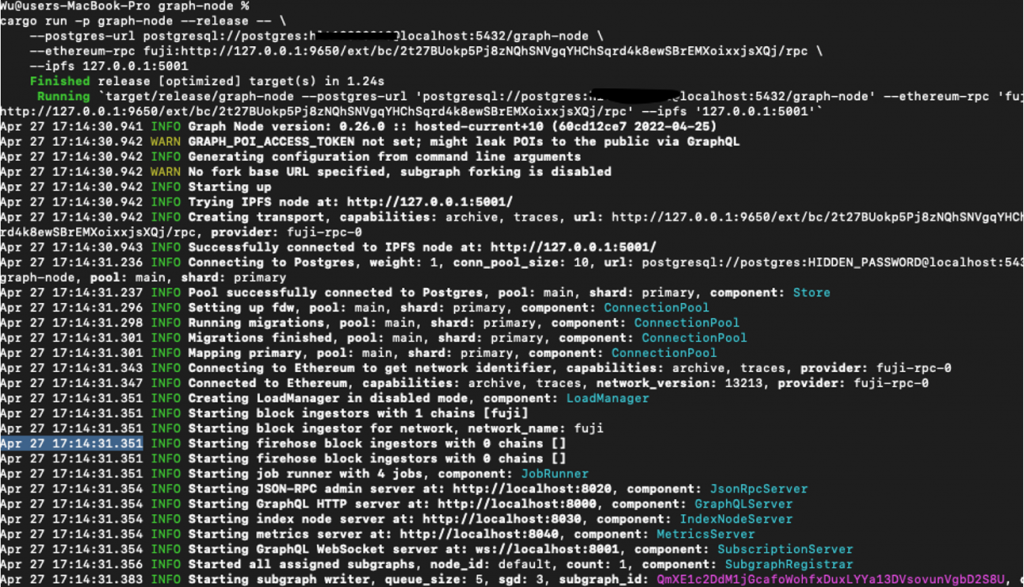
It means The Graph node is up and running.
Deploying subgraph
To deploy a subgraph, navigate to the working directory. Run:
git clone https://github.com/graphprotocol/example-subgraph
cd example-subgraph
yarn
yarn codegen
This downloads the official sample subgraph. It is based on the smart contract for the gravatar registry. In the previous tutorial, its source code was downloaded from the Ethereum network and deployed to the subnet blockchain using Remix.

The sample subgraph can be used directly with little modification. In fact, only two parameters need to be changed.
Open subgraph.yaml:
- Change
dataSources->networktofuji - Change
dataSources->source->addressto the smart contract address
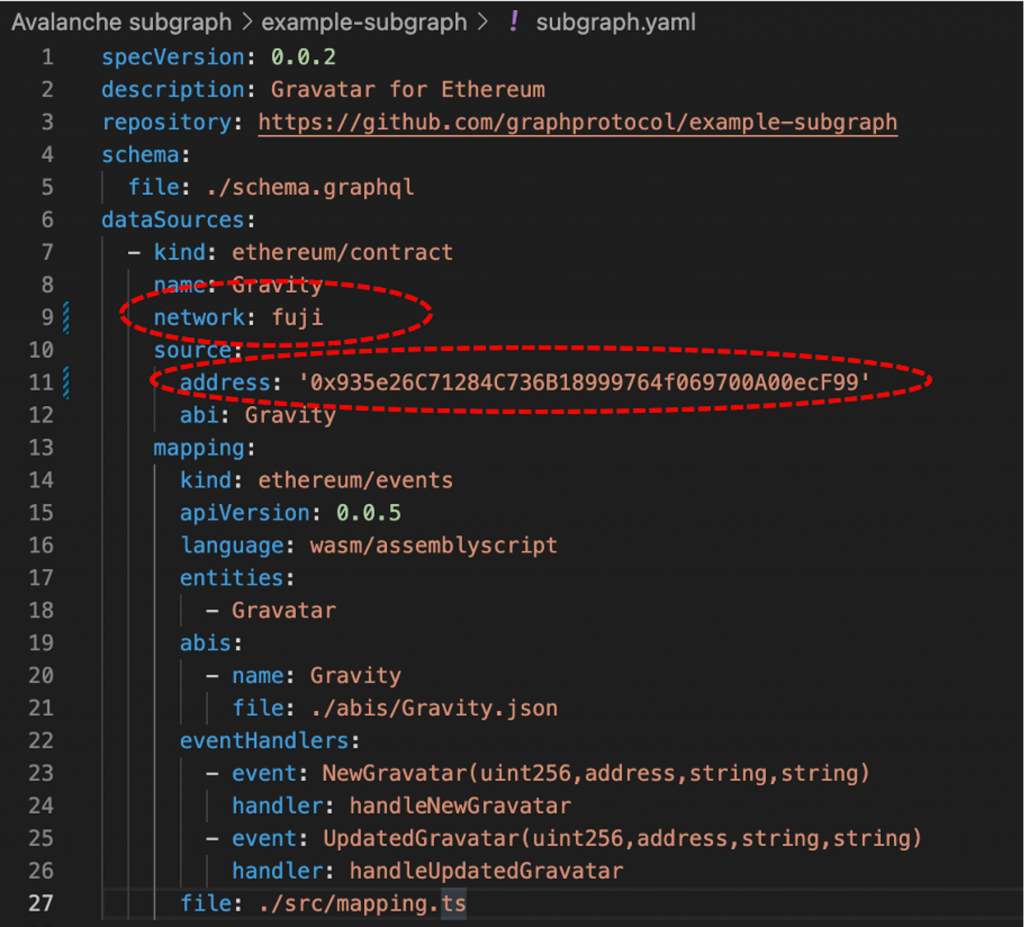
Run:
yarn create-local
yarn deploy-local
The subgraph should be deployed successfully. Graph node may take a while to scan all the blocks to get history data.
Once it is finished, open: http://127.0.0.1:8000/subgraphs/name/example/graphql in the browser.
In the query box, fill in:
query MyQuery {
  gravatars {
    id
    imageUrl
    displayName
  }
}
Press the run button to see it in action.
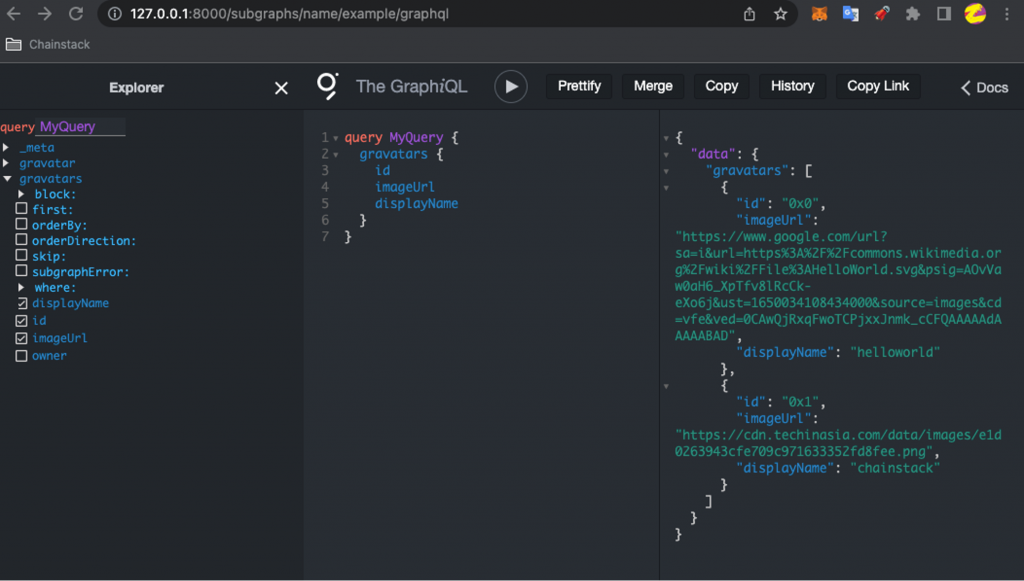
There it is. The Graph is successfully indexing the smart contract now. To learn more about The Graph, there are many good tutorials on the official documentation.
Conclusion
This is the end of Avalanche subnet tutorial. Hope it is helpful.
If you need any help or have questions, feel free to reach us on our Discord channel!
Cheers, happy coding.
- Discover how you can save thousands in infra costs every month with our unbeatable pricing on the most complete Web3 development platform.
- Input your workload and see how affordable Chainstack is compared to other RPC providers.
- Connect to Ethereum, Solana, BNB Smart Chain, Polygon, Arbitrum, Base, Hyperliquid, Robinhood Chain, Arc, Tempo, MegaETH, Monad, Plasma, Avalanche, Optimism, Aptos, Cronos, Gnosis Chain, Moonbeam, Celo, Aurora, TON, Ronin, and Bitcoin mainnet or testnets through an interface designed to help you get the job done.
- Fast access to blockchain archive data and gRPC streaming on Solana.
- To learn more about Chainstack, visit our Developer Portal or join our Telegram group.
- Connect your AI agent to Chainstack in seconds using Chainstack MCP — give Claude, Cursor, Codex, Gemini, and Windsurf live access to blockchain data, node management, and docs.
- Are you in need of testnet tokens? Request some from our faucets. Sepolia faucet, Base Sepolia faucet, Solana devnet faucet, Hoodi faucet, BNB faucet, zkSync faucet, Robinhood Chain faucet, Hyperliquid faucet, Monad faucet, Amoy faucet, Plasma faucet, TON faucet.
Have you already explored what you can achieve with Chainstack? Get started for free today.