


 Ethereum
 Hyperliquid
 Solana
 Arbitrum
 BNB Smart Chain
 Base
Base Polygon
 TRON
TRON Sui
Sui Robinhood


Prototyping in Figma: Tips and tricks
In this article I will share a few tips and tricks that I use to make prototyping in Figma even more helpful and easier to use. Before we start, I want to say that prototyping in Figma for me is pure joy, but we can always improve things, right? Let’s keep it short and sweet and dive into details straight away.
Custom transitions and micro-interactions
Yep, I know that there are a lot of useful built-in transition effects in Figma already, but here I want to talk about custom micro-interactions, complicated transitions and show you how to add them into your Figma prototypes. Let’s take a look at a couple of examples I’ve prepared.

To make this kind of interaction, you need Figma and any animation tool of your choice. I used After Effects just because I’m familiar with it.
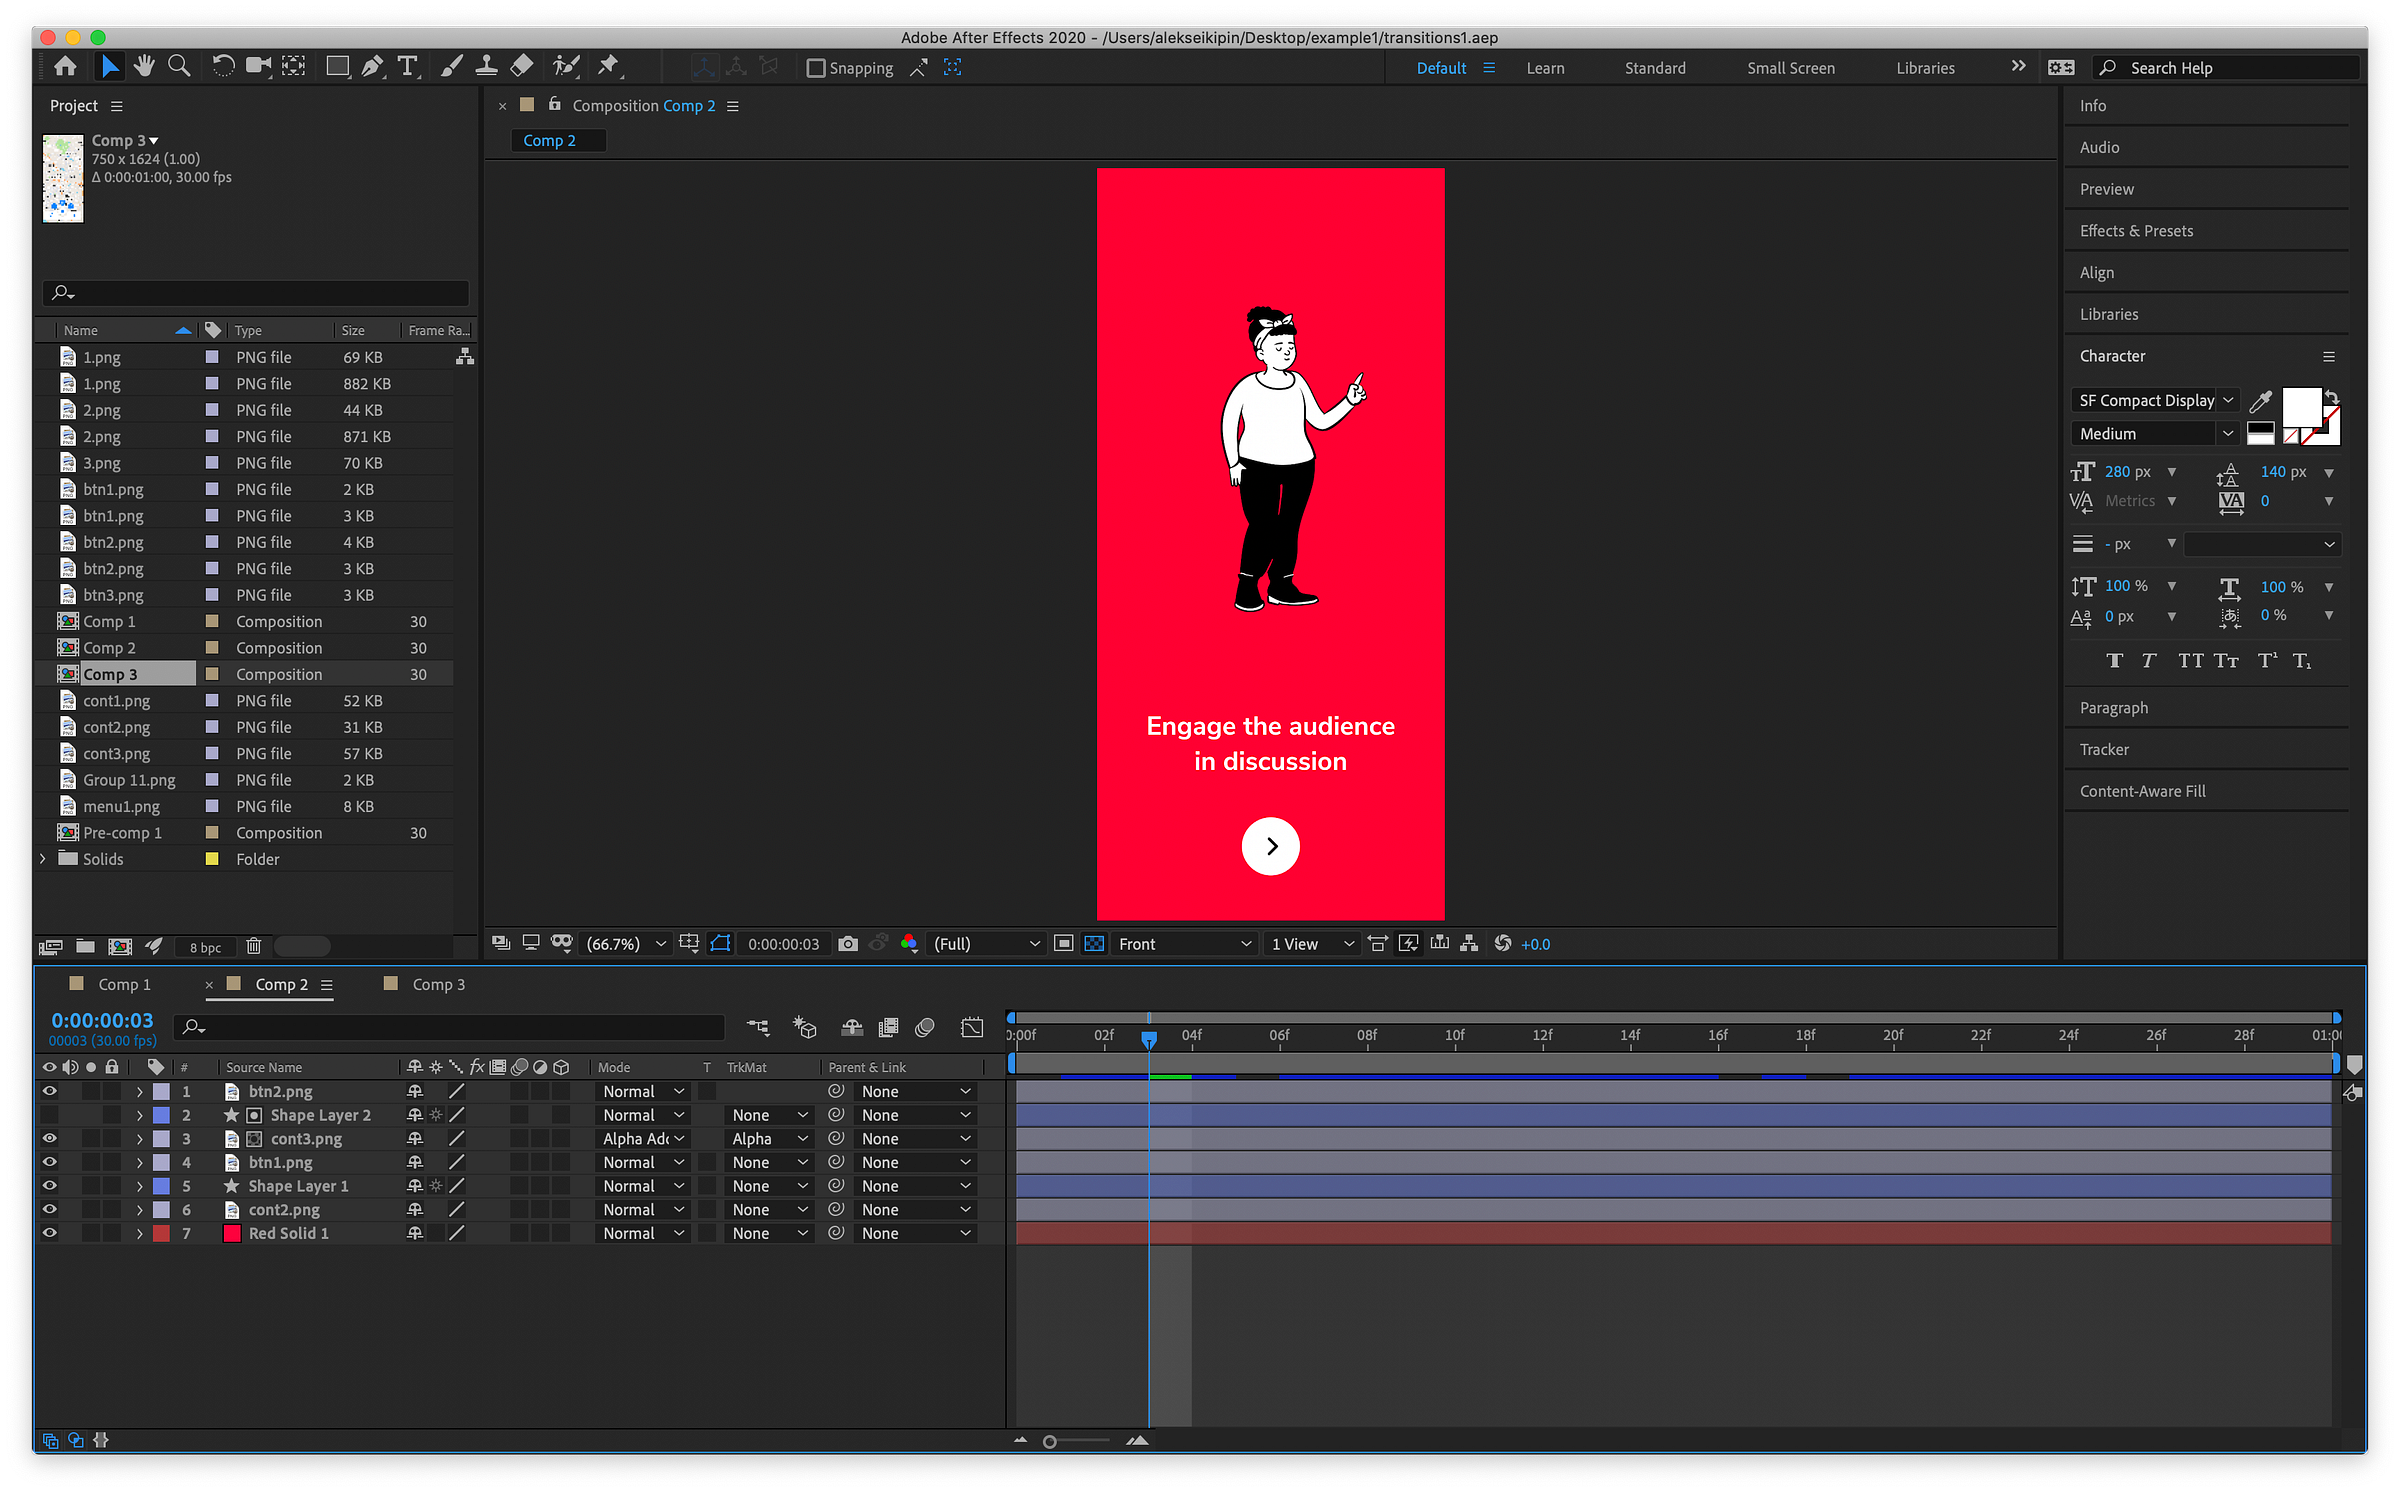
When you have your animated transition, add it to your project between the screens that you want to animate and link them. For the animated layers, use the after delay property— the delay should be equal to the length of the animated transition you have. In the end, it should look like this.
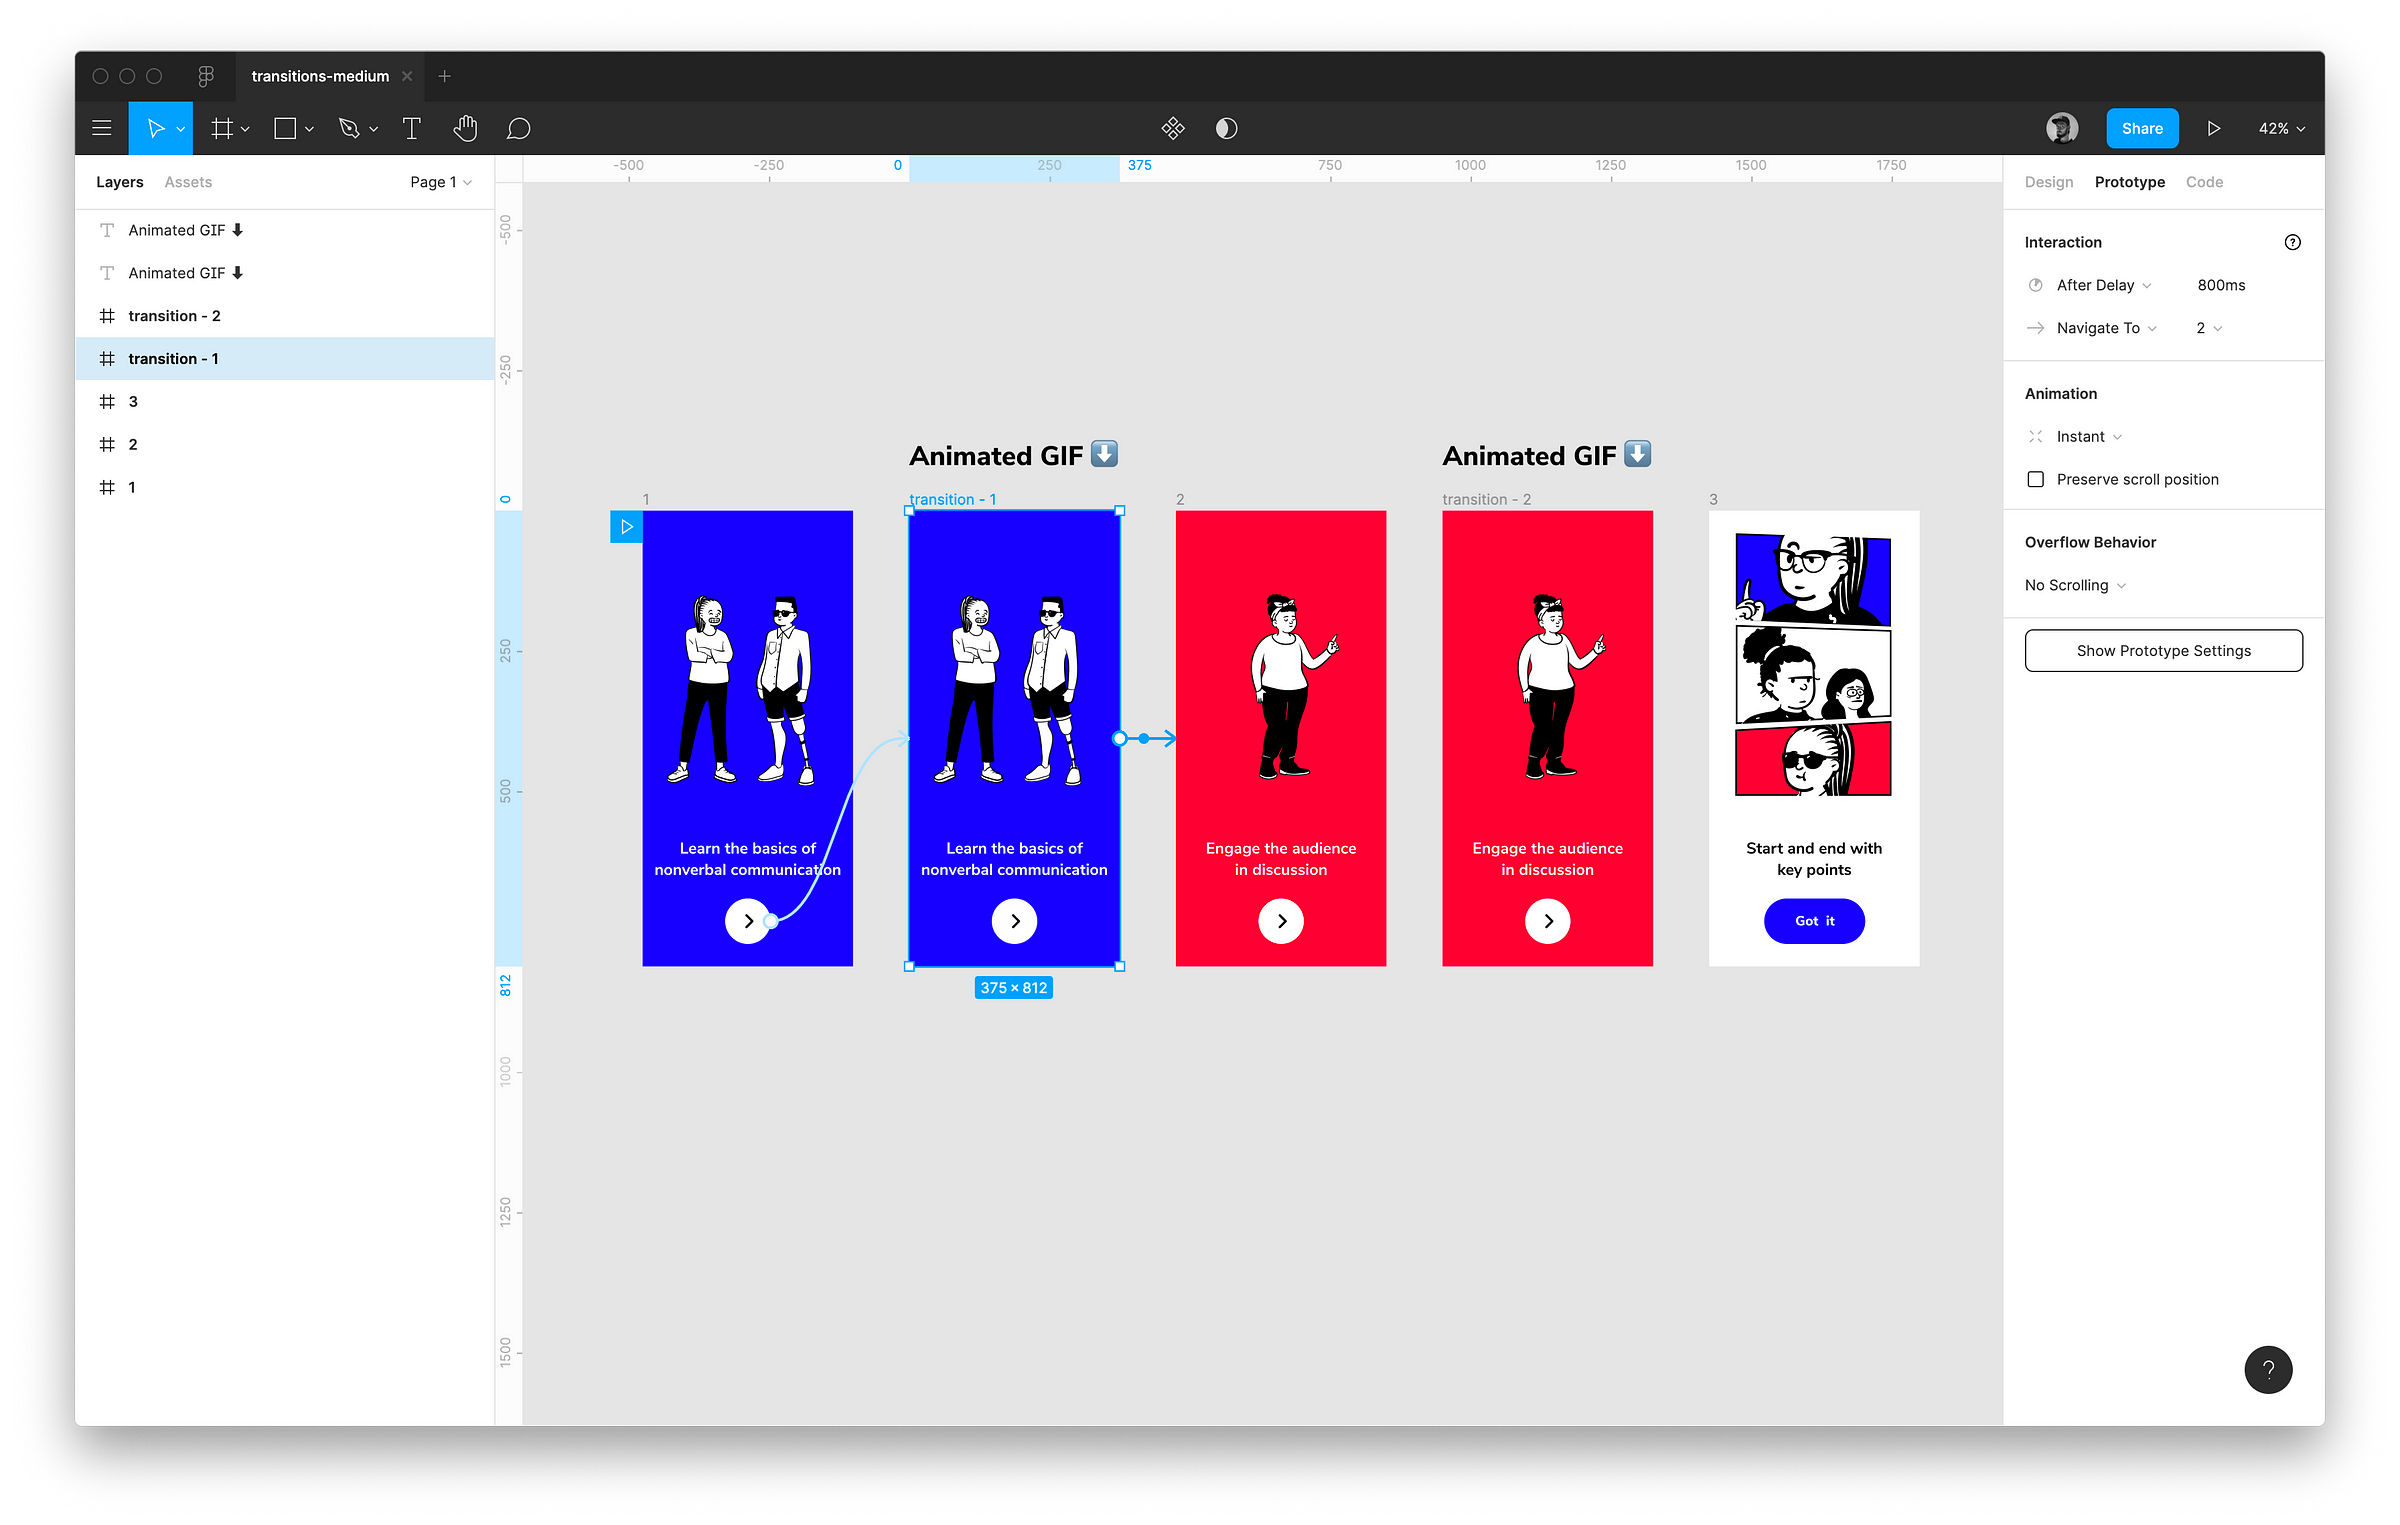
If you’re not familiar with any animation tools or simply don’t have any animation software installed on your machine, you can do a lot of stuff with Figmotion. Figmotion is a Figma plugin that helps you animate your designs in Figma without using any third-party software. Here’s an example of how it works:
Improve navigation between flows in prototyping mode
When I work on a user story, even if it’s the most simple user story in the world, I have at least a few edge cases or validation points that I need to show to the team so we can discuss them. It’s quite frustrating in Figma at the moment. I’ve tried different approaches:
- I tried to keep my flows in one file and change the starting frame by moving the little blue play button between frames. But it’s inconvenient to find and move this little square when you are showing something to the team plus the loading time. It’s so slow when you reload your prototype (especially if you work with a big file).
- Then I tried splitting my design files into a few smaller ones and keep open a prototyping tab for each of them. That’s a pain. If the user story you’re working on is big and complicated (it implies a lot of edge cases and different scenarios), Figma can’t keep all prototyping tabs open and reloads them when you present them to the team. On top of that, it’s very hard to navigate between a lot of opened tabs (1 tab per flow * 2 because of the opened prototype window).
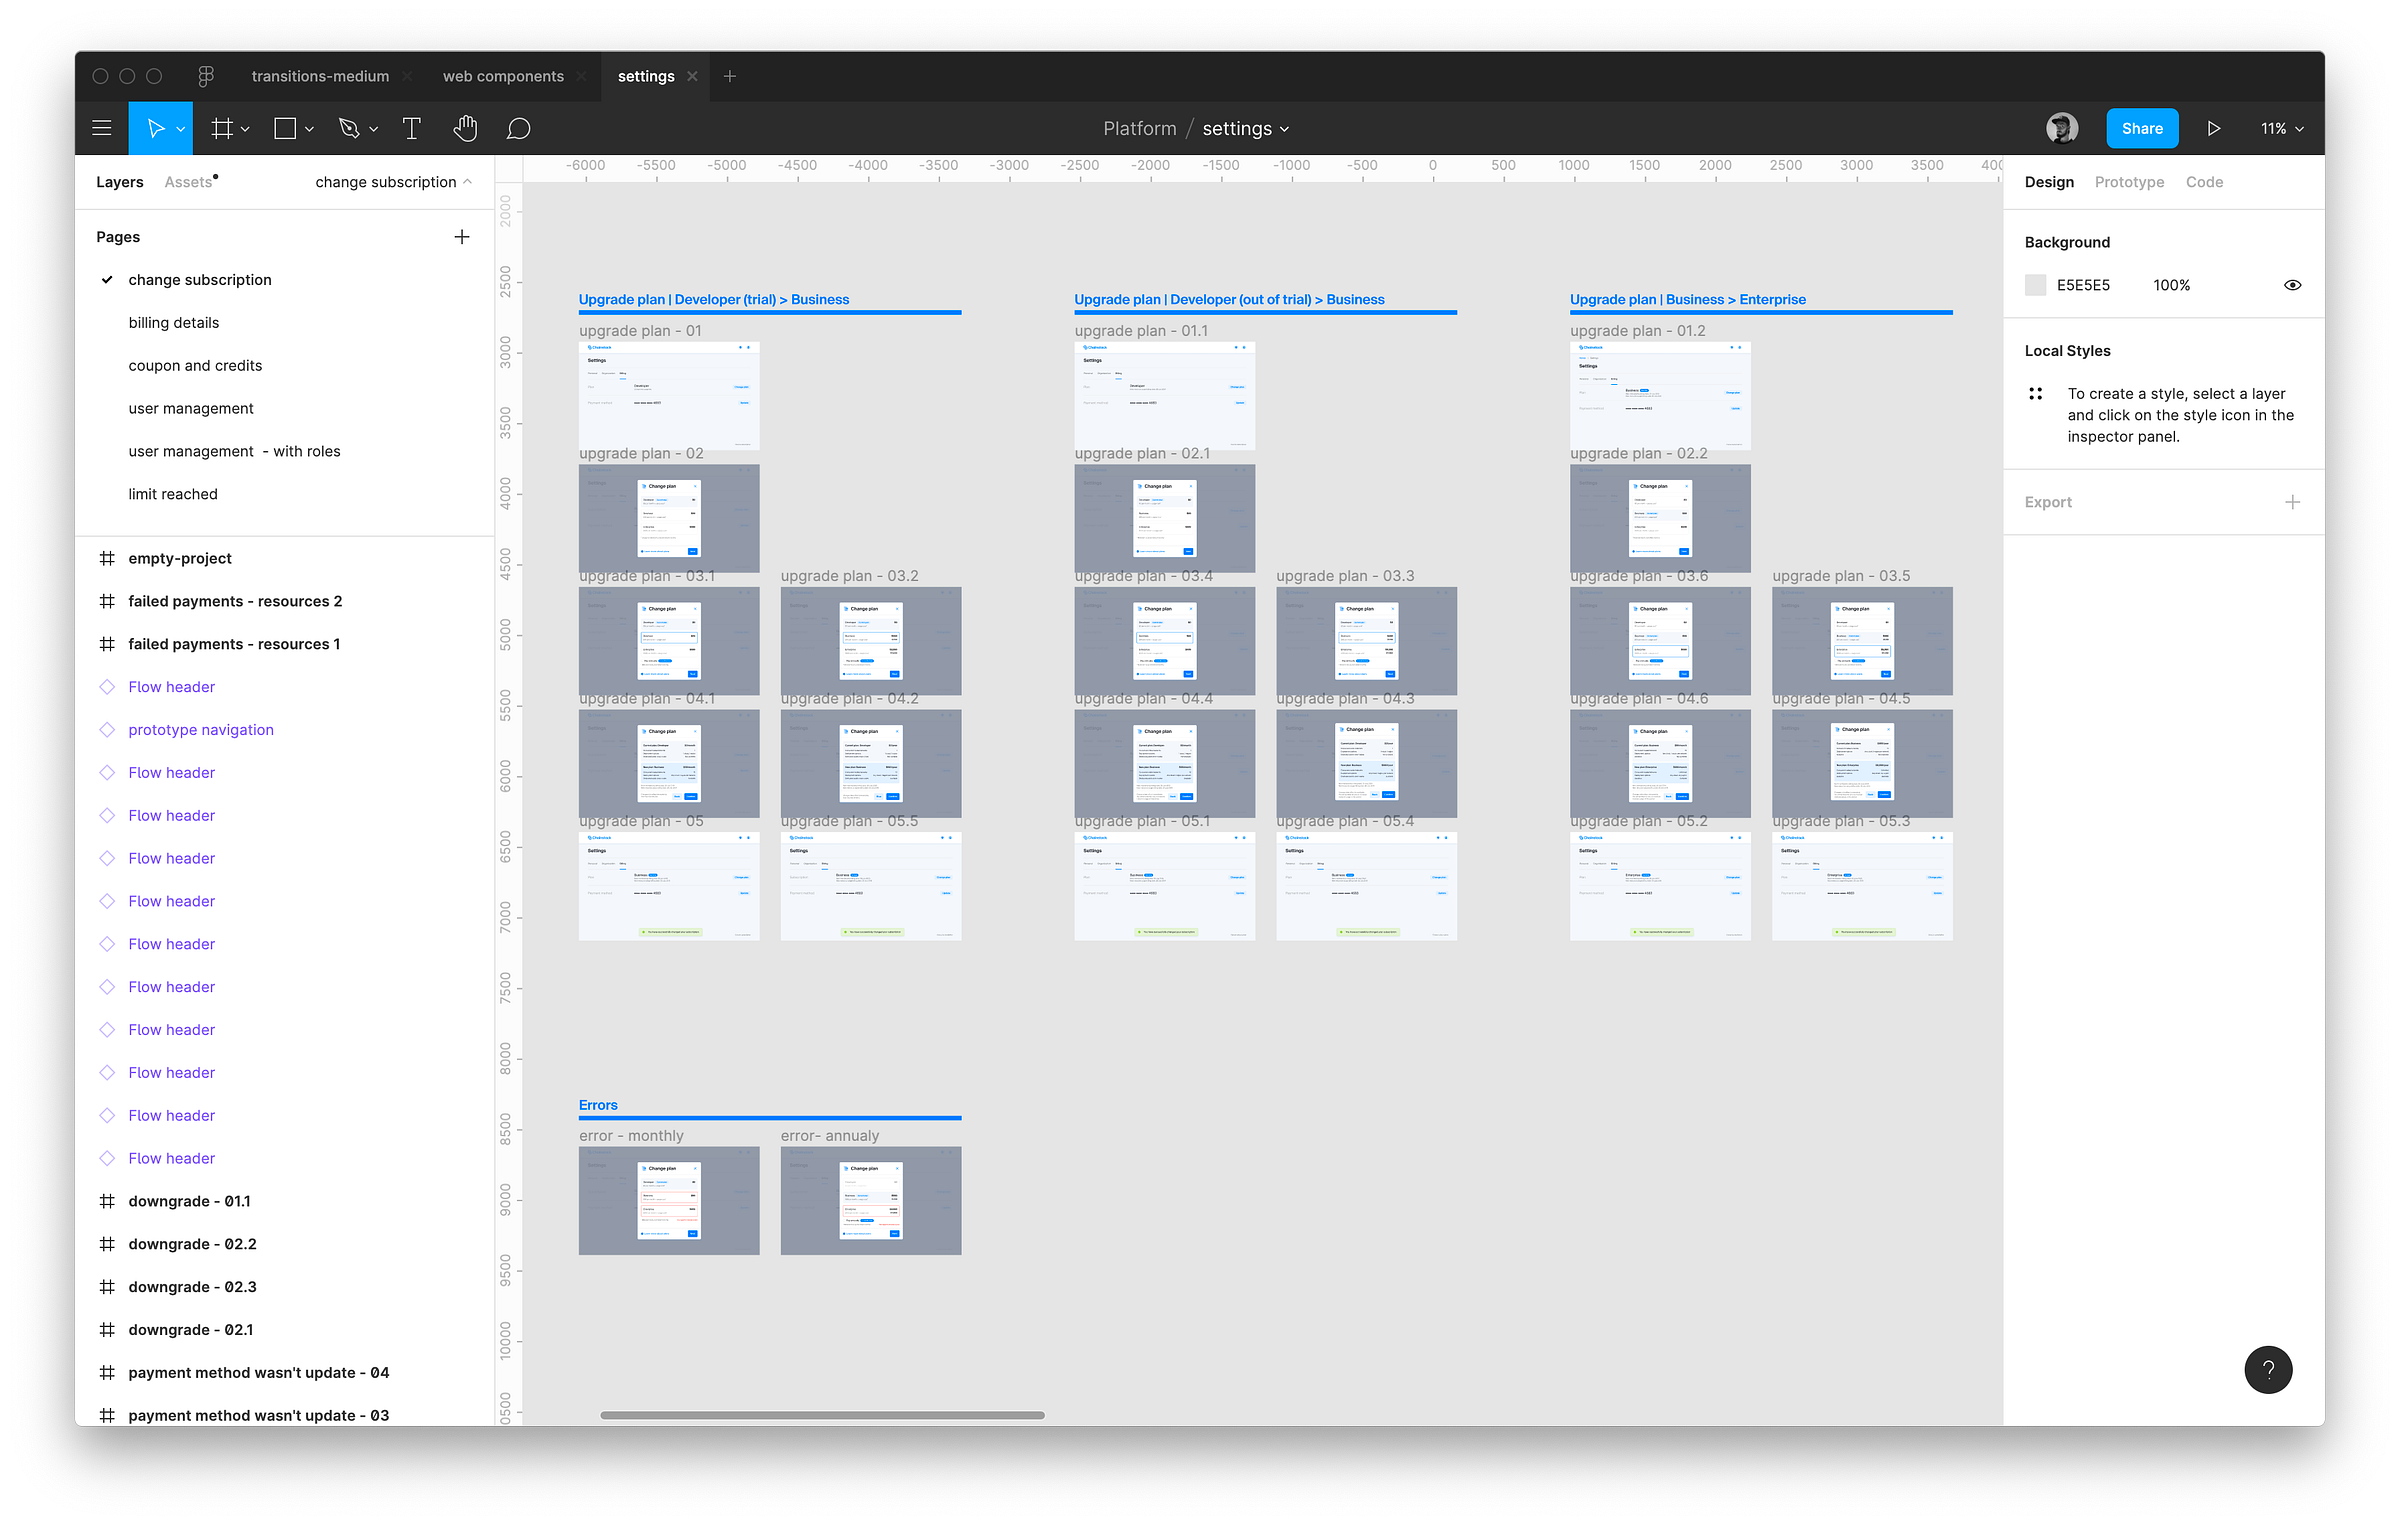
Here is the best solution that I’ve found. I’ve designed a navigation screen that I put as a first screen in all my prototypes:

Grouping flows within one file
As I mentioned above, I always have at least a few flows related to a user story. That’s why I need a way to organize them within one file. To do it, I designed a simple element that helps a lot.

Hand-off
Sometimes I have details related to the implementation of my design files that I need to pass on to the engineers, and they usually work better next to the mockups. That’s why I made a post-it note component, and I use it to specify details related to the implementation of my design.

I have all three components that I mentioned above in my UI components library in Figma. It allows me to access them quickly from any file I’m working on.

Here is a link to a Figma file with the examples that I’ve mentioned: Figma link.
Join our community of innovators
- To learn more about Chainstack, visit our Knowledge Center or join our Discord server and Telegram group
- Sign up for a free Developer account, or explore the options offered by Growth or Business plans here.
- Take a look at our pricing tiers using a handy calculator to estimate usage and number of nodes.
- Subscribe to our email updates, and be the first one to know about new releases, partnerships and events.
.


