Ethereum
 Hyperliquid
 Solana
 Arbitrum
 BNB Smart Chain
 Base
Base Polygon
 TRON
TRON Sui
Sui MegaETH


Complete Guide to Lens Protocol—A decentralized social media network
You probably use Twitter, YouTube, and other social media platforms, but did you know that you don’t own your data, posts, videos, or anything else you share on these social media apps? All Web2 social media apps have the right to delete your posts, your content, or even your account. However, Lens Protocol solves this problem.
What is Lens Protocol?
Lens Protocol is a decentralized and composable social graph that allows developers to build their own decentralized social media platforms on the Polygon blockchain.
Why is DeSo (decentralized social) important?
Decentralization means the users have the complete right to their content. It means instead of centralized entities owning the content, ownership gets distributed amongst users.
It is built by the same team behind Aave, the leading lending platform on Ethereum. Lens Protocol enables creators to take ownership of their content.
How does Lens Protocol work?
Every profile in the Lens Protocol is unique and users need to first create and publish their profile. After creating their profiles, users can post, discuss, and share content on any site that is built on top of Lens, such as Lenster, Lenstube, and many others. Modules play a vital role in Lens Protocol, they allow every profile owner to include custom functionality on their profiles. There are mainly 3 modules i.e: Follow, Collect, and Reference.
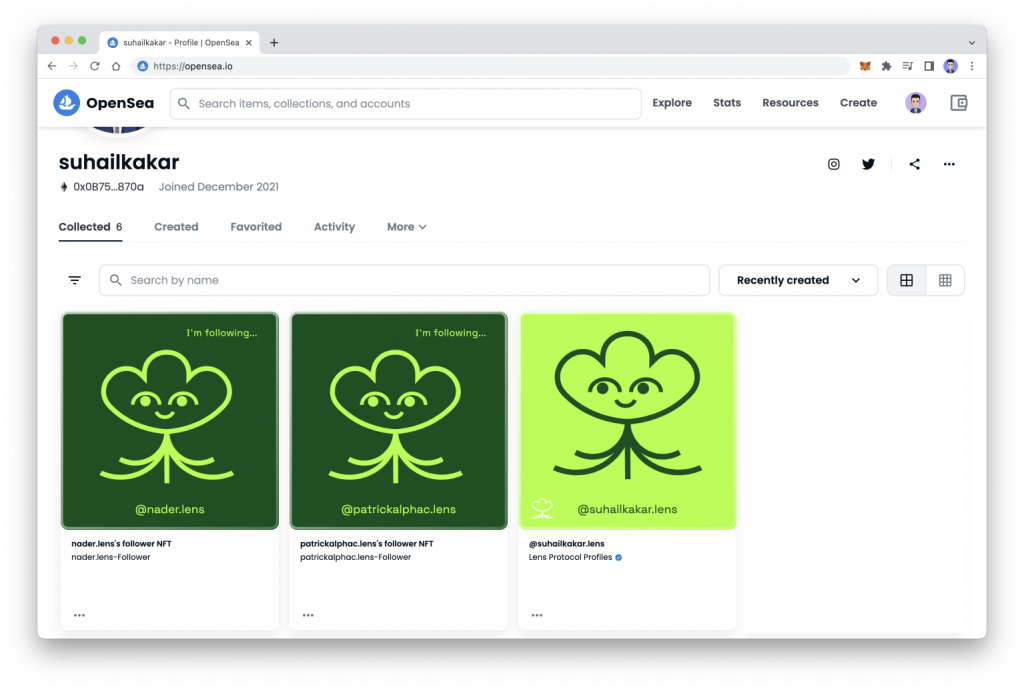
Each task on Lens Protocol is tokenized into an NFT, thus if I follow someone, I will have an NFT that proves that I am doing so.
Now that you have a good understanding of Lens Protocol, let’s build a simple app using Lens API and see how it works.
Lens protocol tutorial – Prerequisites
For this tutorial, you would need
- Basic knowledge of React.js, APIs, and Web3.
- An RPC endpoint, you can sign up with Chainstack to deploy your own node and get the endpoint.
- Have Node.js and NPM installed on your machine.
Setting up the project
The first step is to set up the project, for this tutorial we will be using React.js, Tailwind CSS, and Lens API. You can run the below command in your terminal to create a simple react project.
npx create-react-app lens-app Once it is completed, you should see a new directory named lens-app. Now it is time to add Tailwind CSS to our application.
Adding TailwindCSS
Tailwind CSS is a utility-first CSS framework for building user interfaces rapidly. Run the below command to install tailwindcss, postcss, and autoprefixer.
npm install -D tailwindcss postcss autoprefixer The -D flag is the shortcut for: –save-dev which installs the package as a dev dependency.
Once the dependencies are installed, we need to initiate the Tailwind CSS. To do that, run the below code in your terminal.
npx tailwind init -p The above command will generate two files named tailwind.config.js and postcss.config.js. These two are the configuration for the styling of our app.
Update the tailwind CSS configuration file by adding two file paths in the contents array.
module.exports = {
  content: [
    "./src/**/*.{js,jsx,ts,tsx}",
  ],

  theme: {
    extend: {},
  },
  plugins: [],
}
At last, include the tailwind CSS styling in the index.css file so we can use the Tailwind CSS styling in your app.
@tailwind base;
@tailwind components;
@tailwind utilities;
Add the below snippet in the App.js file to check whether the Tailwind CSS integrated successfully or not:
<div className="flex flex-co items-center justify-center h-screen">
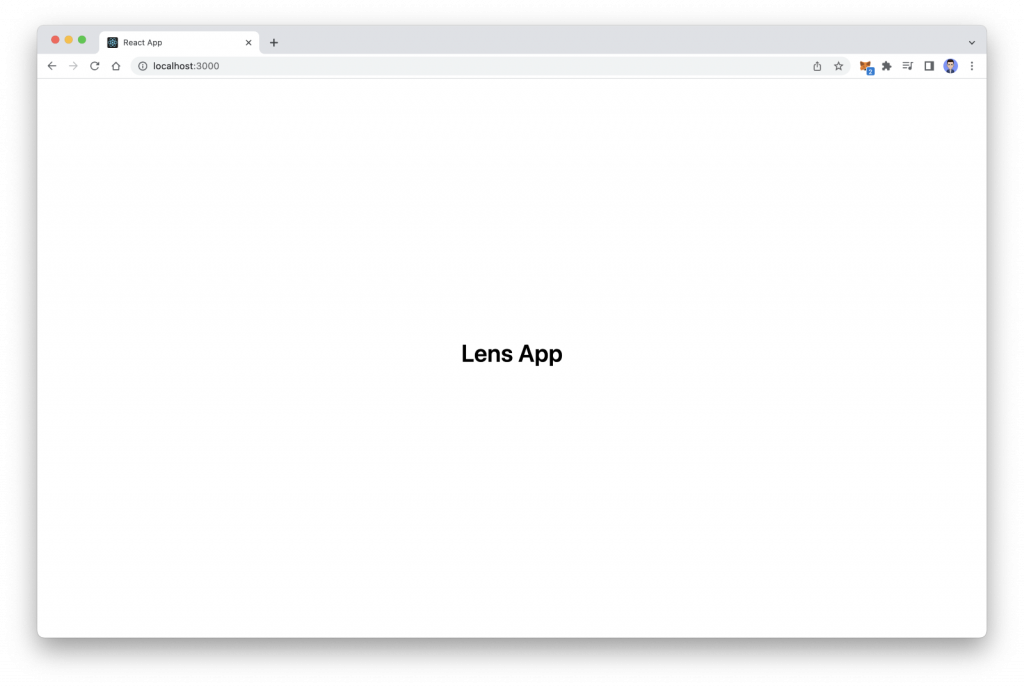
<h1 className="text-4xl font-semibold mb-4">Lens App</h1>
</div> Run npm start to start the server, if everything is integrated successfully, you should see a similar page.
Installing Ethers, RainbowKit and WAGMI
Now that your project is integrated successfully with TailwindCSS, it’s time to add Web3 support to it. To add the Web3 functionality we will be using:
- Ethers.js — a JavaScript library that allows us to interact with the blockchain and smart contracts.
- RainbowKit — one of the best connect wallet libraries with a beautiful UI.
- WAGMI — provides us with hooks that make integration with ethers easier.
You can install these three dependencies by running the command below in your terminal.
npm install @rainbow-me/rainbowkit wagmi ethers Once the dependencies are installed, open index.js and replace it with the below code.
import React from "react";
import ReactDOM from "react-dom/client";
import "./index.css";
import App from "./App";
import reportWebVitals from "./reportWebVitals";
import "@rainbow-me/rainbowkit/styles.css";
import "@rainbow-me/rainbowkit/styles.css";

import { getDefaultWallets, RainbowKitProvider } from "@rainbow-me/rainbowkit";
import { chain, configureChains, createClient, WagmiConfig } from "wagmi";
import { jsonRpcProvider } from "wagmi/providers/jsonRpc";

const { chains, provider } = configureChains(
  [chain.polygon],
  [
    jsonRpcProvider({
      rpc: (chain) => ({
        http: "YOUR_CHAINSTACK_RPC",
      }),
    }),
  ]
);

const { connectors } = getDefaultWallets({
  appName: "My Lens App",
  chains,
});

const wagmiClient = createClient({
  autoConnect: true,
  connectors,
  provider,
});

const root = ReactDOM.createRoot(document.getElementById("root"));
root.render(
  <React.StrictMode>
    <WagmiConfig client={wagmiClient}>
      <RainbowKitProvider chains={chains}>
        <App />
      </RainbowKitProvider>
    </WagmiConfig>
  </React.StrictMode>
);

reportWebVitals();
In the above code, we have imported RainbowKit and WAGMI and then we have provided the chains. Since Lens is deployed on the Polygon blockchain, we have only included the Polygon Mainnet.
At last, we have wrapped our main component with WAGMI and Rainbow providers. Make sure to replace “YOUR_CHAINSTACK_RPC” with your RPC which was mentioned about.
You can also import Connect Button that is provided by RainbowKit by default in the app.js.
Once you have imported it, you can add it below the h1 tag. Finally, this is how you index.js code should look like.
import { ConnectButton } from "@rainbow-me/rainbowkit";
import React from "react";
export default function Home() {
return (
<div className="flex flex-col items-center justify-center h-screen">
<h1 className="text-4xl font-semibold mb-4">
Lens App
</h1>
<ConnectButton />
</div>
);
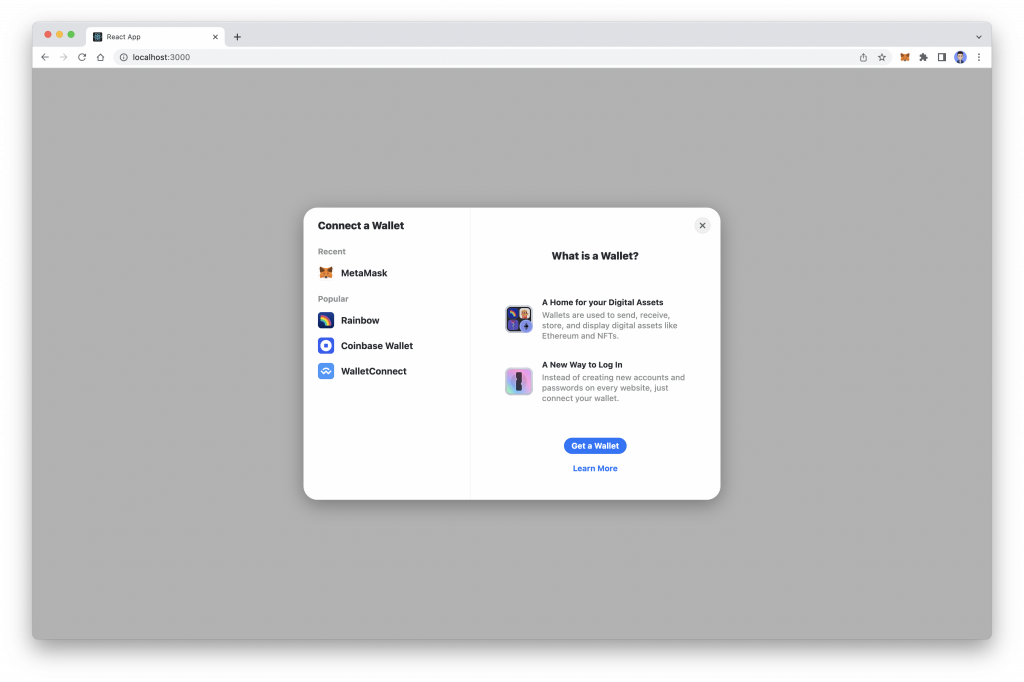
} Save the files and reload the page, you should see a connect button. Click on it and you should be able to connect your wallet and see your wallet address.
Integrating Lens API
Now that you can connect your wallet and we have added Web3 support to our application, it’s time to integrate the Lens API into our application. However, before that, we need to set up GraphQL in our app since Lens provides GraphQL APIs.
GraphQL is an open-source query language that offers flexible and user-friendly syntax to describe the data requirements and interactions. As an alternative to REST, developers can create GraphQL requests that include data from various sources from a single API call.
Setting up Apollo GraphQL
In this article, we will be using Apollo GraphQL which is a powerful and simple GraphQL client that can be used with React, React Native, Next, and other frameworks and libraries.
The first step is to install Apollo GraphQL using the below command:
npm install @apollo/client graphql Once the dependency is installed, create a new file named client.js inside the src directory and add the below code to it.
import { ApolloClient, InMemoryCache } from "@apollo/client";

const client = new ApolloClient({
  uri: "<https://api.lens.dev>",
  cache: new InMemoryCache(),
});

export default client;
Now we have a GraphQL client we can use within the application, and we’re ready to query for some data.
Interacting with Lens API
Finally, now it is time to use Lens API in our applications. Replace the below code inside of your App.js file.
import { gql } from "@apollo/client";
import { ConnectButton } from "@rainbow-me/rainbowkit";
import React, { useEffect, useState } from "react";
import client from "./client";
export default function Home() {
const [users, setUsers] = useState([]);
const fetchUsers = async () => {
let query = gql`
query ExploreProfiles {
exploreProfiles(request: { sortCriteria: MOST_FOLLOWERS }) {
items {
id
name
handle
picture {
... on NftImage {
uri
}
... on MediaSet {
original {
url
mimeType
}
}
}
stats {
totalFollowers
totalFollowing
totalPosts
}
}
}
}
`;
client.query({ query }).then(({ data }) => {
setUsers(data.exploreProfiles.items);
});
};
useEffect(() => {
fetchUsers();
}, []);
return (
<div className="flex flex-col items-center justify-center h-screen">
<h1 className="text-4xl font-semibold mb-4">
Lens x React.js x Chainstack
</h1>
<ConnectButton />
{users.map((user) => (
<div key={user.id}>
<p>{user.handle}</p>
</div>
))}
</div>
);
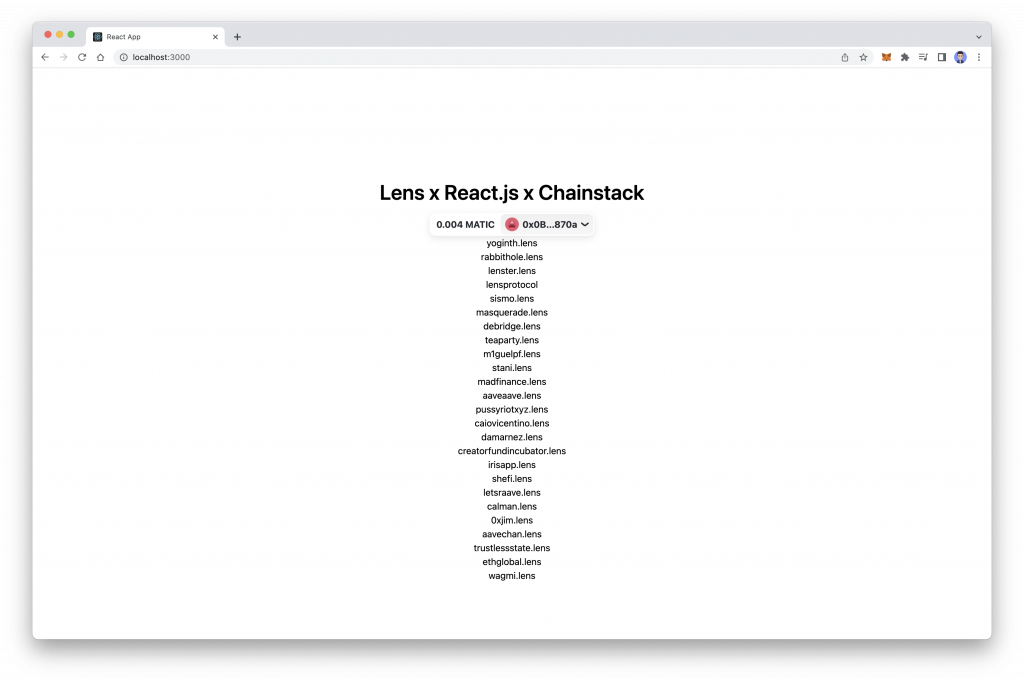
} In the above code, we have imported the client from the src folder and created a state named users. Next, we created a function that fetches the user details using the Lens API. We have provided the query string and with the help of the Apollo client, which we declared on the client file, we are querying the API and updating the state using the API response. We use the useEffect hook to invoke this function upon page load. At last, we are mapping the user’s array and rendering the user’s handle on the page.
Once you refresh the browser, you should be able to see a similar page.
The styling in our app needs some improvement, so let’s style this user’s list using Tailwind. Create a new folder named components and inside of it create a new file named card.js. Add the below code inside of the card.js file.
import React from "react";
export default function Card({ user }) {
return (
<div className="flex flex-col items-center justify-center w-1/2 rounded-md p-10 mt-4 shadow-lg">
<img
src={user.picture?.original?.url || "https://placekitten.com/200/200"}
className="w-24 h-24 rounded-full mr-4"
/>
<h2 className="text-2xl font-semibold mt-4">
{user.name} (@{user.handle})
</h2>
<p className="mt-4">
<span className="font-semibold">{user.stats.totalFollowers}</span>{" "}
Followers
<span className="font-semibold ml-4">
{user.stats.totalFollowing}
</span>{" "}
Following
<span className="font-semibold ml-4">{user.stats.totalPosts}</span> Posts
</p>
<p className="text-center mt-4">{user.bio}</p>
</div>
);
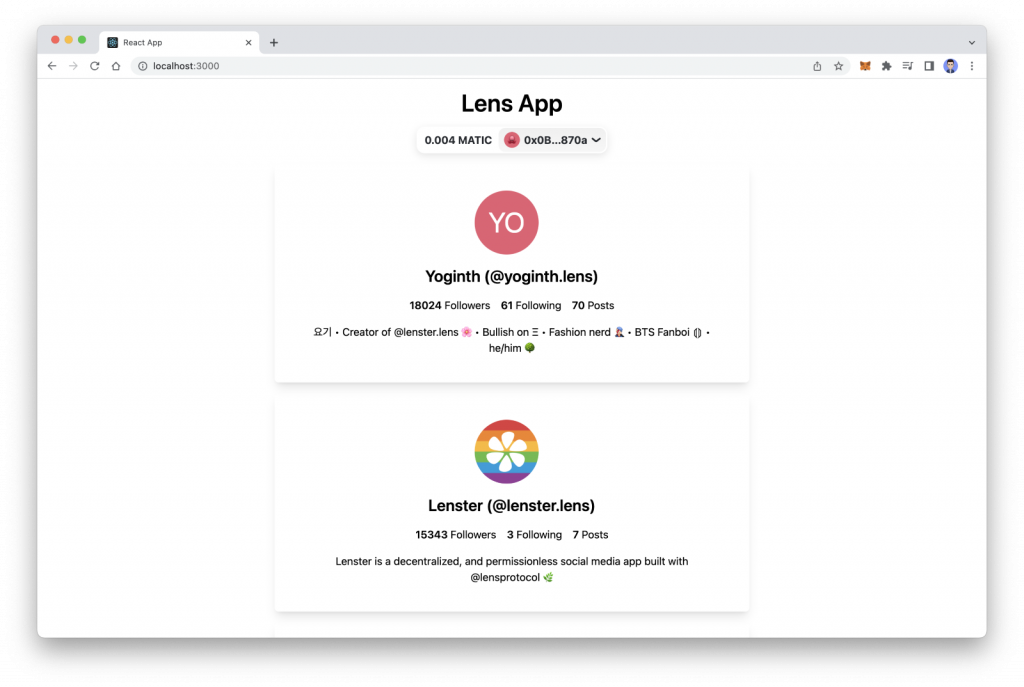
} In the above component, we have passed user objects as a prop,s and then with help of Tailwind CSS we have created a simple card component that shows users’ data, such as image, name, handle, and stats. Now in the App.js replace your return function with the below code and import the card component from the components folder.
return (
    <div className="flex flex-col items-center justify-center ">
      <h1 className="text-4xl font-semibold mb-4">Lens App</h1>
      <ConnectButton />
      {users.map((user) => (
        <Card user={user} />
      ))}
    </div>
  );
And now if you refresh your web page, you should see a better-looking user’s card, similar to the below image.
Conclusion
That is it for this tutorial. From What is Lens Protocol to querying the Lens API, we have covered in this tutorial. We have also learned about GraphQL and how to use GraphQL APIs in a React.js application.
We hope that this article gives a good understanding of Lens Protocol, how it works, and how to use Lens API in a react app.
- Discover how you can save thousands in infra costs every month with our unbeatable pricing on the most complete Web3 development platform.
- Input your workload and see how affordable Chainstack is compared to other RPC providers.
- Connect to Ethereum, Solana, BNB Smart Chain, Polygon, Arbitrum, Base, Hyperliquid, Tempo, MegaETH, Monad, Plasma, Avalanche, Optimism, Scroll, Aptos, Cronos, Gnosis Chain, Kaia, Moonbeam, Celo, Aurora, TON, Ronin, and Bitcoin mainnet or testnets through an interface designed to help you get the job done.
- Fast access to blockchain archive data and gRPC streaming on Solana.
- To learn more about Chainstack, visit our Developer Portal or join our Telegram group.
- Connect your AI agent to Chainstack in seconds using Chainstack MCP — give Claude, Cursor, Codex, Gemini, and Windsurf live access to blockchain data, node management, and docs.
- Are you in need of testnet tokens? Request some from our faucets. Sepolia faucet, Base Sepolia faucet, Solana devnet faucet, Hoodi faucet, BNB faucet, zkSync faucet, Scroll faucet, Hyperliquid faucet, Monad faucet, Amoy faucet, Plasma faucet, TON faucet.
Have you already explored what you can achieve with Chainstack? Get started for free today.