Ethereum
 Hyperliquid
 Solana
 Arbitrum
 BNB Smart Chain
 Base
Base Polygon
 TRON
TRON Sui
Sui Robinhood


How to run a self-hosted blockchain node on HOSTKEY
It’s 2am. Your on-call goes off. Users can’t transact, your dApp is returning errors, and your team is scrambling. You check your infra — everything looks fine. Then you check Alchemy’s status page. Degraded service. Estimated resolution: unknown.
You’re down because someone else’s infrastructure is down. And there’s nothing you can do except wait.
This is the hidden cost of managed RPC providers. They’re convenient until they’re not — and when they fail, they take your product down with them. Rate limits, shared infrastructure, opaque SLAs, and zero visibility into what’s actually happening under the hood.
The alternative is running your own node. Full control, no dependencies, no surprises. And with Chainstack pre-installed on HOSTKEY servers, it’s not the week-long DevOps project it used to be. This guide walks you through the entire setup — from picking a server to having a live Ethereum node.
What is Chainstack?
Chainstack is a managed blockchain infrastructure platform built for developers and enterprises who need reliable, production-grade access to blockchain networks. From Global Nodes to Dedicated and Self-Hosted deployments, Chainstack provides the infrastructure layer for Web3 applications that can’t afford downtime.
The Self-Hosted option is for teams who want full control — your hardware, your endpoints, your data. HOSTKEY is a certified Chainstack partner that ships servers with Chainstack pre-installed, so you skip the manual setup entirely.
Before you start
You’ll need:
- A HOSTKEY account (sign up at hostkey.com)
- A domain name (optional, but recommended for production)
- An SSH key pair (public key ready to paste)
SSH key pair — a way to access your server securely without a password. If you’ve never set one up, run this in your terminal:
ssh-keygen -t ed25519 -C "[email protected]"Hit Enter through all the prompts. Then run:
cat ~/.ssh/id_ed25519.pubThat output is your public key — copy the whole thing, you’ll paste it into the server config in Step 5.
Step-by-step guide
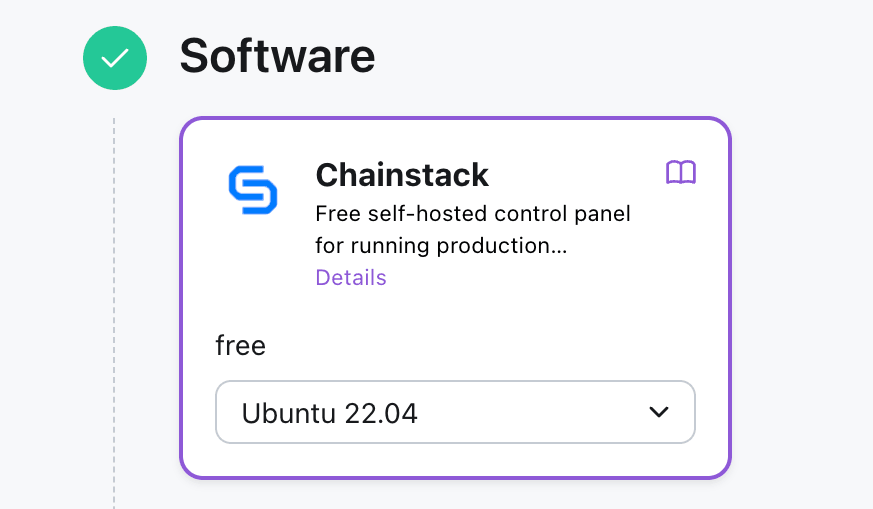
Step 1: Choose Chainstack as your software
Head to hostkey.com/apps/developer-tools/chainstack and click Deploy App.
On the server configuration page, you’ll see the Software section at the top. Chainstack should already be selected — it’s the pre-configured option for this page. The OS is set to Ubuntu 22.04, which is the recommended environment for Chainstack.
You only get one OS option here, and that’s intentional: the server is fine-tuned specifically for running blockchain nodes. Don’t change it.
Step 2: Pick your data center location
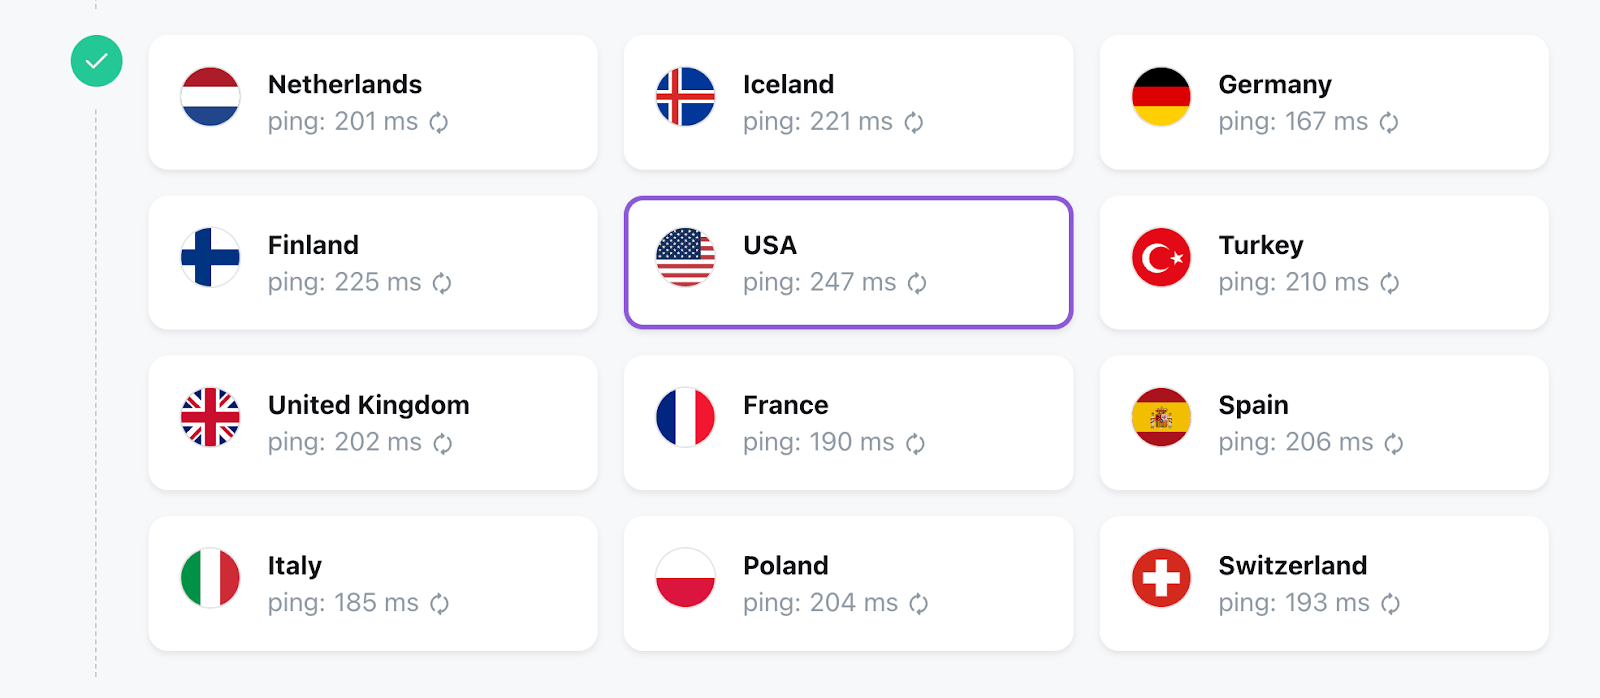
Scroll to the Location section. You’ll see a grid of countries with real-time ping measurements from your browser.
Available locations include the Netherlands, Germany, United Kingdom, France, Italy, Spain, Finland, Iceland, Turkey, Poland, Switzerland, and the USA.
Which one should you pick?
- Lowest latency to your users or dApps — pick the closest region
- Proximity to other validators or nodes — some chains have denser node clusters in specific regions (Western Europe is generally strong)
- Regulatory considerations — if you need data residency in a specific country, filter by that
The ping numbers shown are live. Germany and Italy typically show the lowest latency in Western Europe. The Netherlands and the UK are solid all-rounders.
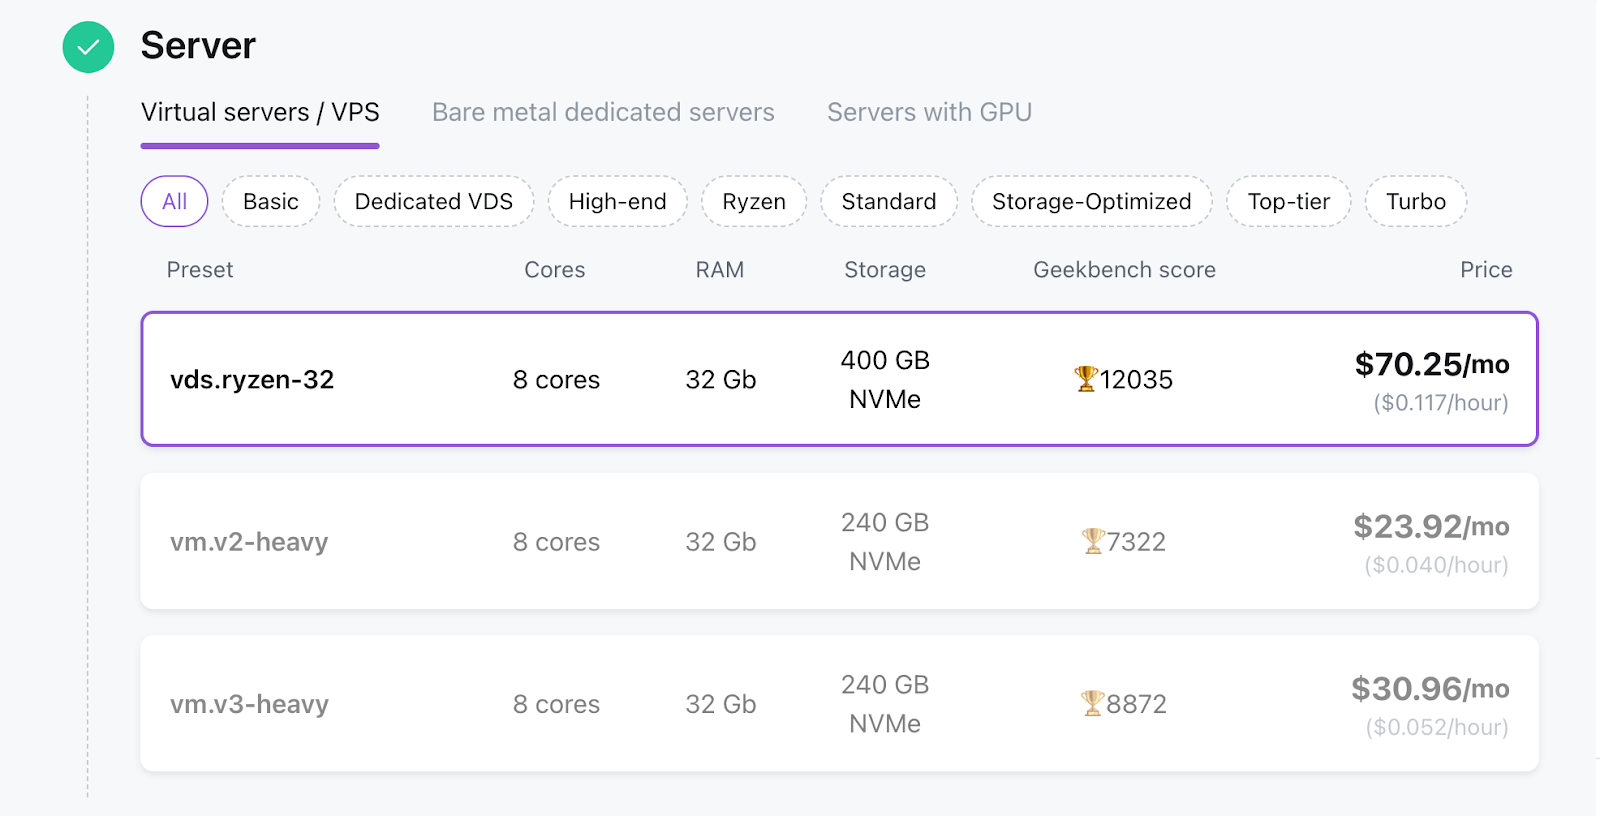
Step 3: Select your server
HOSTKEY offers three server types:
- Virtual Servers (VPS/VDS) — virtualized hardware shared at the infrastructure level, but with dedicated resources allocated to you. Good starting point for full nodes and RPC endpoints. Lower cost, faster provisioning.
- Bare Metal Dedicated Servers — physical hardware, exclusively yours. No noisy neighbors, predictable performance. The right choice for archive nodes or anything running at production scale where consistent I/O matters.
- Servers with GPU — available in a limited set of locations. Relevant if your setup involves ZK-proof generation or other GPU-accelerated workloads alongside the node. Not needed for standard Chainstack deployments.
Location availability varies by server type — not every country has bare metal or GPU options. If a specific location matters to you, check what’s available there before committing to a server category.
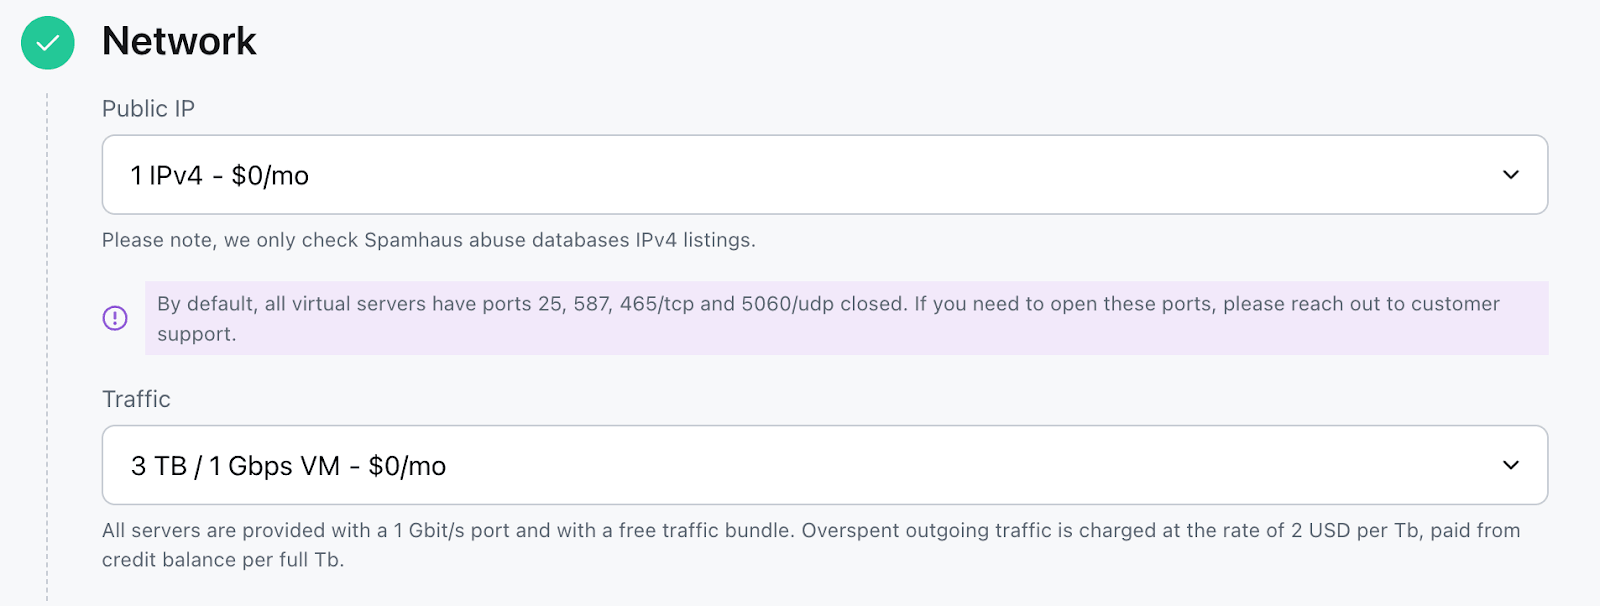
Step 4: Configure networking
Under the Network section, set your public IP and traffic limits.
Public IP: The default is 1 IPv4 at no extra cost. That’s enough for a single node.
Traffic options:
- 3 TB / 1 Gbps — $0/mo (included)
- 5 TB / 1 Gbps — $4.69/mo
- 10 TB / 1 Gbps — $17.59/mo
Archive nodes and heavily-queried RPC endpoints can burn through bandwidth fast. If you’re serving external traffic or running a public RPC, go with at least 5–10 TB.
Note: Ports 25, 587, 465/tcp and 5060/udp are closed by default on virtual servers. If you need them open for any reason, contact HOSTKEY support.
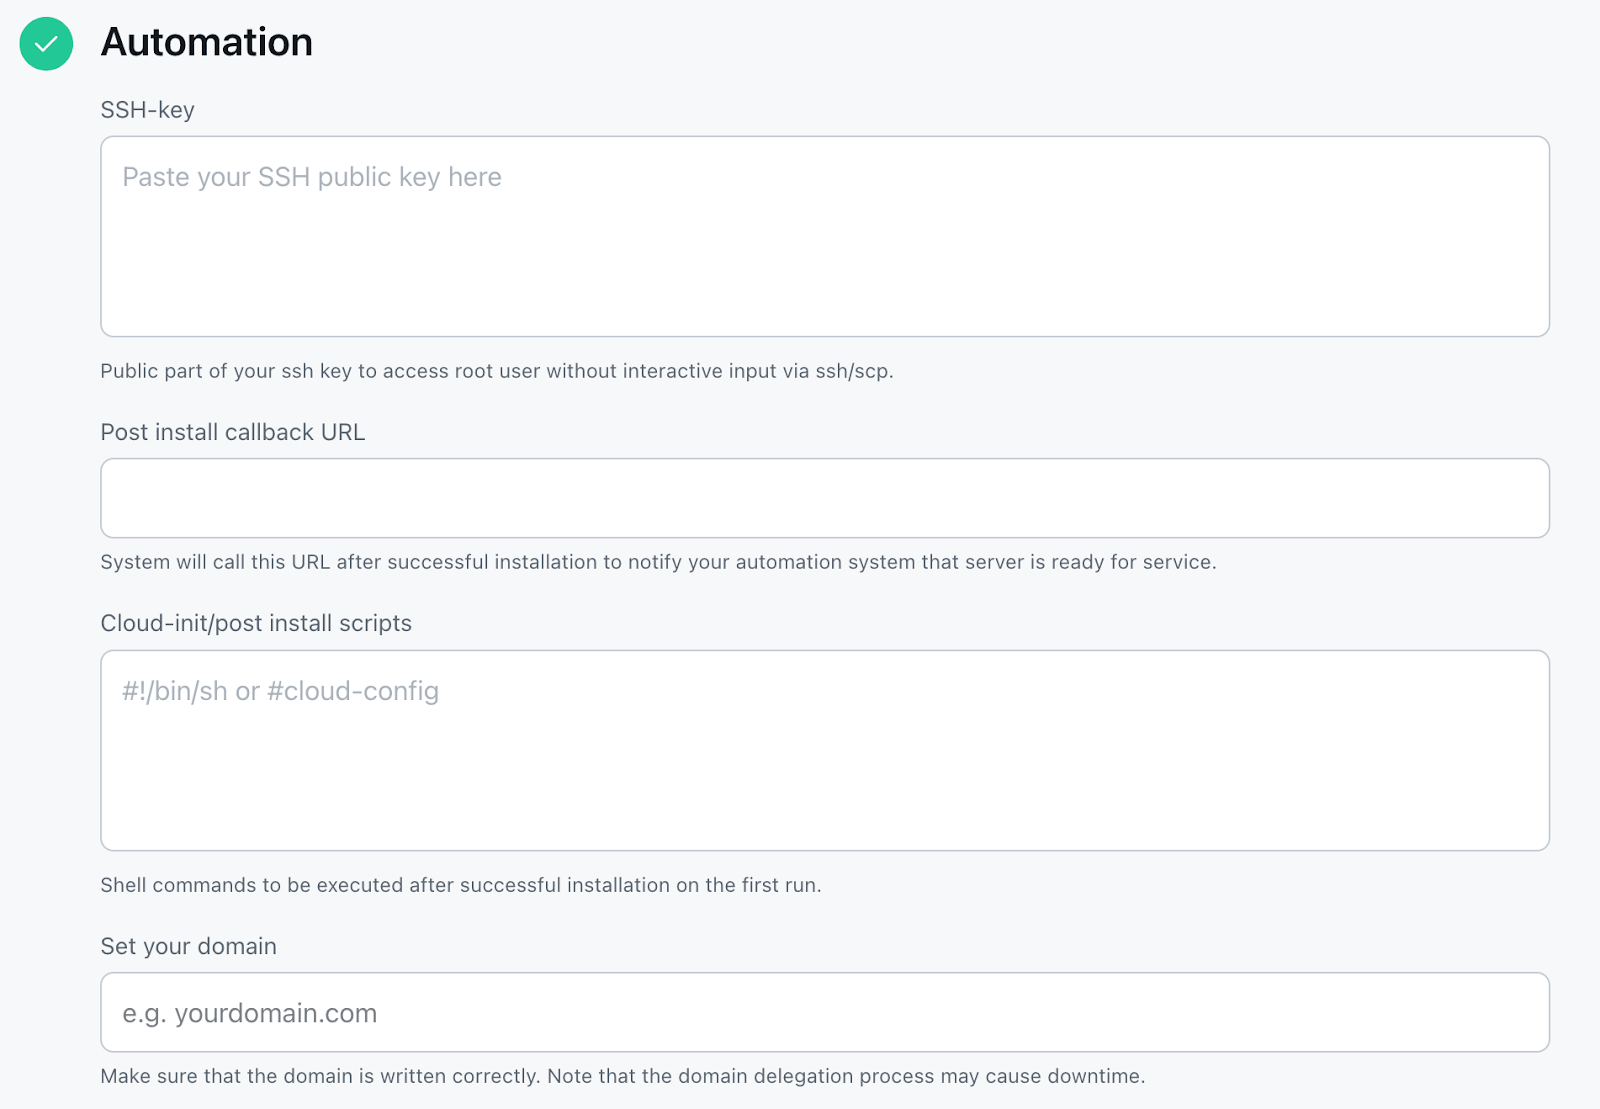
Step 5: Set up automation (SSH, scripts, domain)
The Automation section is where you configure access and post-install behavior.
- SSH Key — Paste your public SSH key here. This gives you root access to the server immediately after it’s provisioned, without needing a password. Check the Before You Start section for more information.
- Post Install Callback URL — Optional. If you’re building automated infrastructure, you can point this to a webhook that fires once the server is ready. Useful for triggering CI/CD pipelines or infrastructure orchestration.
- Cloud-init / Post Install Scripts — You can drop a shell script or cloud-config here that runs on first boot. For example, to auto-configure firewall rules or pull your Chainstack configuration from a private repo.
- Domain — If you want to reach the Chainstack panel via a domain (e.g., node.yourproject.com), enter it here. Make sure your DNS is pointed at the server’s IP before it provisions, or expect a short delay while delegation propagates.
Step 6: Review and checkout
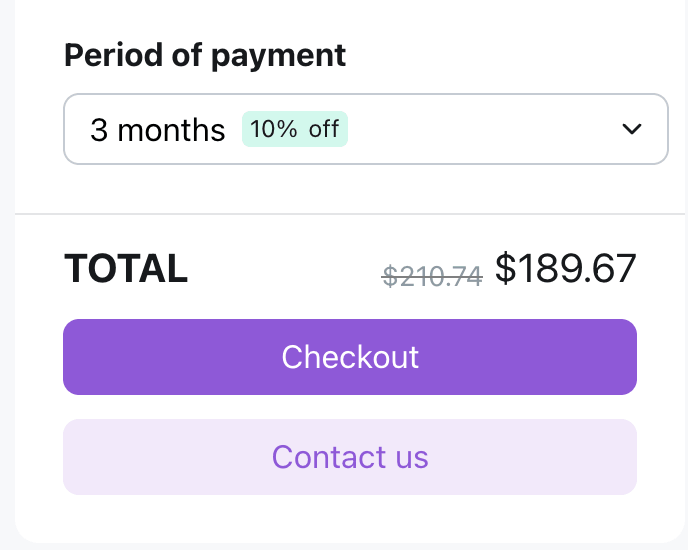
The right-hand panel shows your total. Payment periods:
- 1 month — standard rate
- 3 months — 10% off
- 6 months — 20% off
- 12 months — 30% off
For production infrastructure you plan to run long-term, the 3-month option is the practical choice. The example config shown — Netherlands VDS with Chainstack, 3 TB traffic, 1 IPv4 — comes to $189.67 for 3 months (down from $210.74).
Long-term agreements include a discounted rate and cannot be cancelled early. Plan accordingly.
Click Checkout, complete payment, and your server will be provisioned with Chainstack pre-installed.
After deployment
Once your server is ready, you’ll receive an email with the server IP and connection details. You can also find everything in the HOSTKEY control panel under Info → Tags.
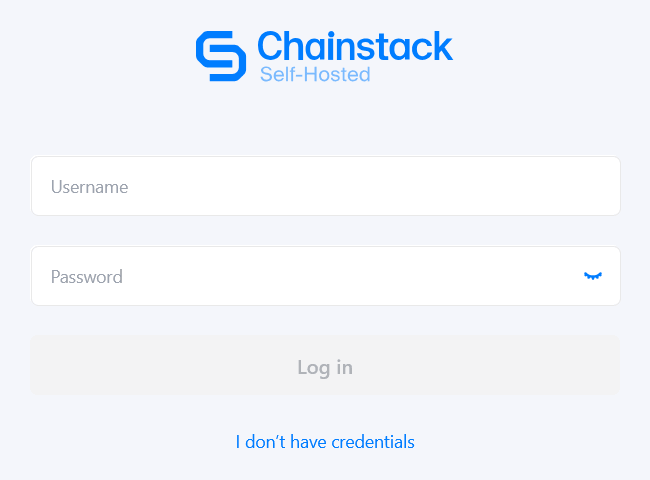
1. Open the Chainstack web panel
The link to the Chainstack management interface is in the webpanel tag in your server’s Info section. Open it in your browser — you’ll see the Chainstack login screen.
2. Get your password
SSH into your server:
bash

ssh root@<server_ip>
Then run:
bash

yq '.cp-auth.env.CP_AUTH_BOOTSTRAP_PASSWORD' /root/.config/cp-suite/values/cp-control-panel-*.yaml
Copy the output and paste it into the Password field on the login screen. Username is admin.
You can also find the password in /root/chainstack_admin_credentials.txt
3. Change your password
Once logged in, go to Settings and set a new password. Don’t skip this.
4. Deploy your first node
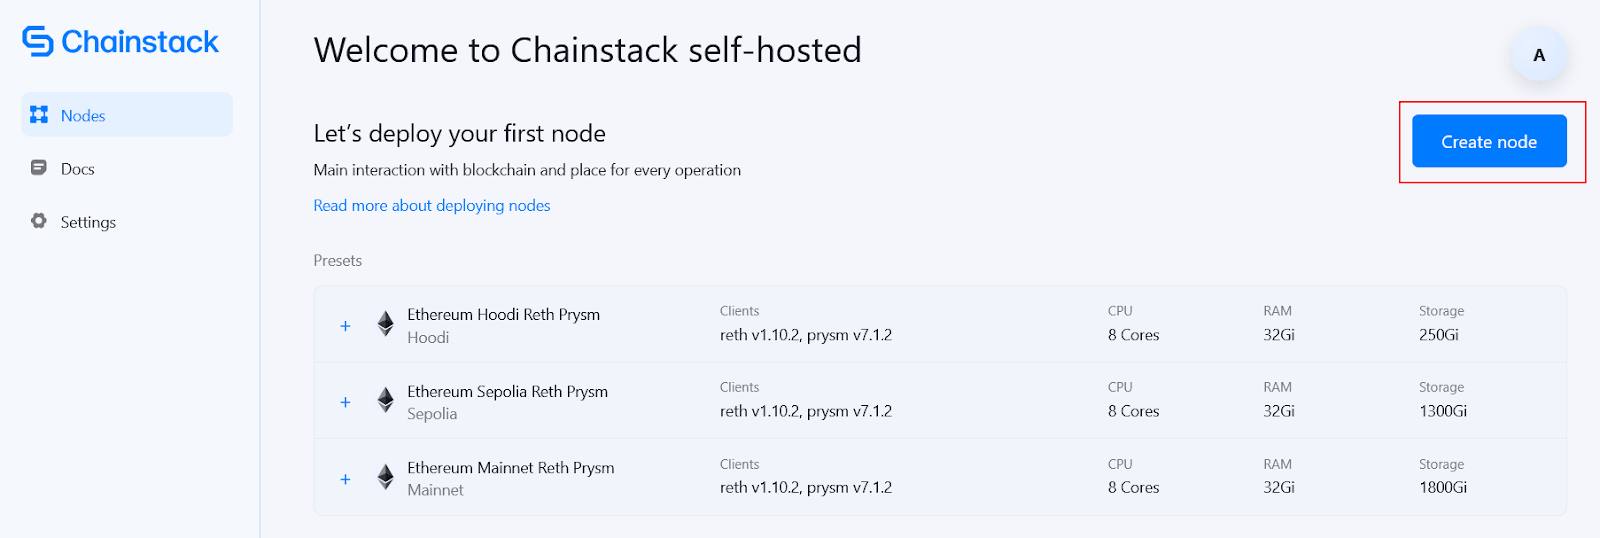
Go to the Nodes menu and click Create node. Select your protocol and configuration, review the summary, and click Create Node. The node will be up in approximately 10 minutes — after that it will start syncing, which takes significantly longer depending on the network.
For the full node deployment walkthrough, see the HOSTKEY Chainstack documentation.
5. Get your RPC endpoint
Once the node is running, the RPC endpoint is available directly from the Chainstack panel. Point your dApp, indexer, or wallet backend at it — this is your private, rate-limit-free connection to Ethereum.
Summary
There’s no meaningful downside to owning your node once it’s running. The setup cost is 15 minutes. What you get in return is a private RPC endpoint that’s fully yours— no shared infrastructure, no rate limits, no one else’s outage becoming your problem.
Your node will start syncing immediately. From here: connect your dApp, set up monitoring, and plan for scale. Chainstack handles the node management, HOSTKEY handles the hardware — your team handles everything that actually matters.
FAQ
The server provisioning and initial Chainstack setup takes about 15 minutes. After that, the node itself spins up in approximately 10 minutes — but syncing to the chain tip takes significantly longer depending on the network and node type.
VPS is virtualized hardware with dedicated resources allocated to you — lower cost, faster provisioning, good for full nodes and RPC endpoints. Bare metal is physical hardware exclusively yours, with no noisy neighbors and predictable I/O — the right choice for archive nodes or production-scale deployments.
No. HOSTKEY ships servers with Chainstack pre-installed. You need basic SSH access to retrieve your admin password, but the node deployment itself is done through the Chainstack web panel — no manual client configuration required.
It depends on the chain and traffic load. HOSTKEY includes 3 TB/month free. Archive nodes and publicly-exposed RPC endpoints can exceed this quickly — for those use cases, the 5–10 TB plans are recommended.
Additional resources